vCluster Auto Nodes: Provision Azure Workers From an EKS-Hosted Control Plane

|
7
min Read

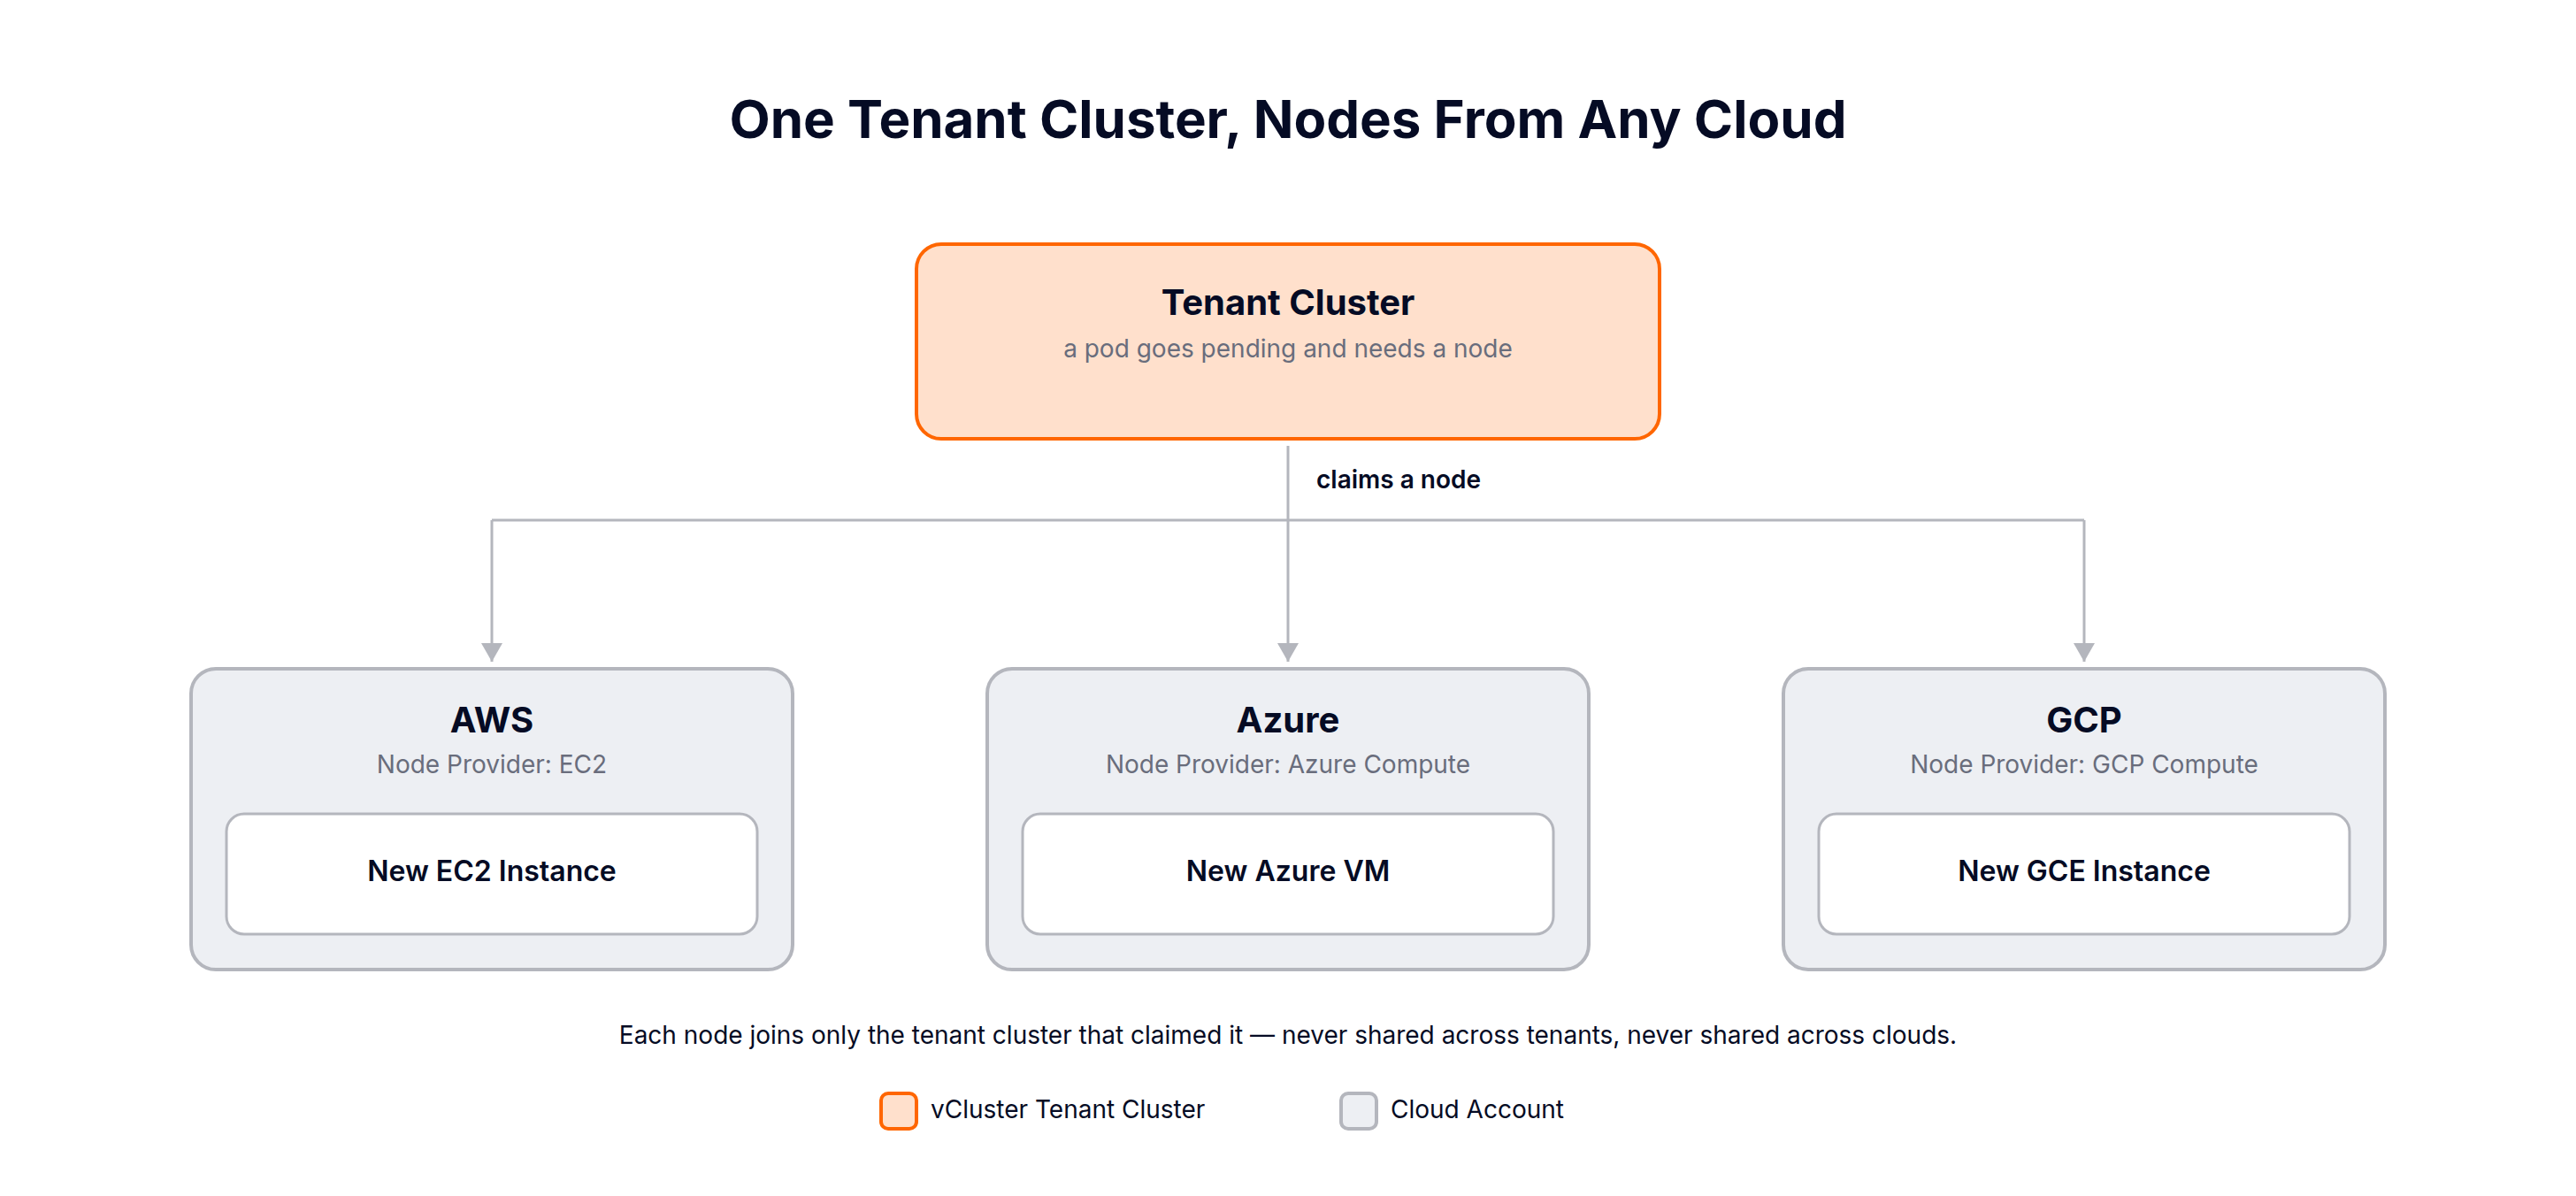
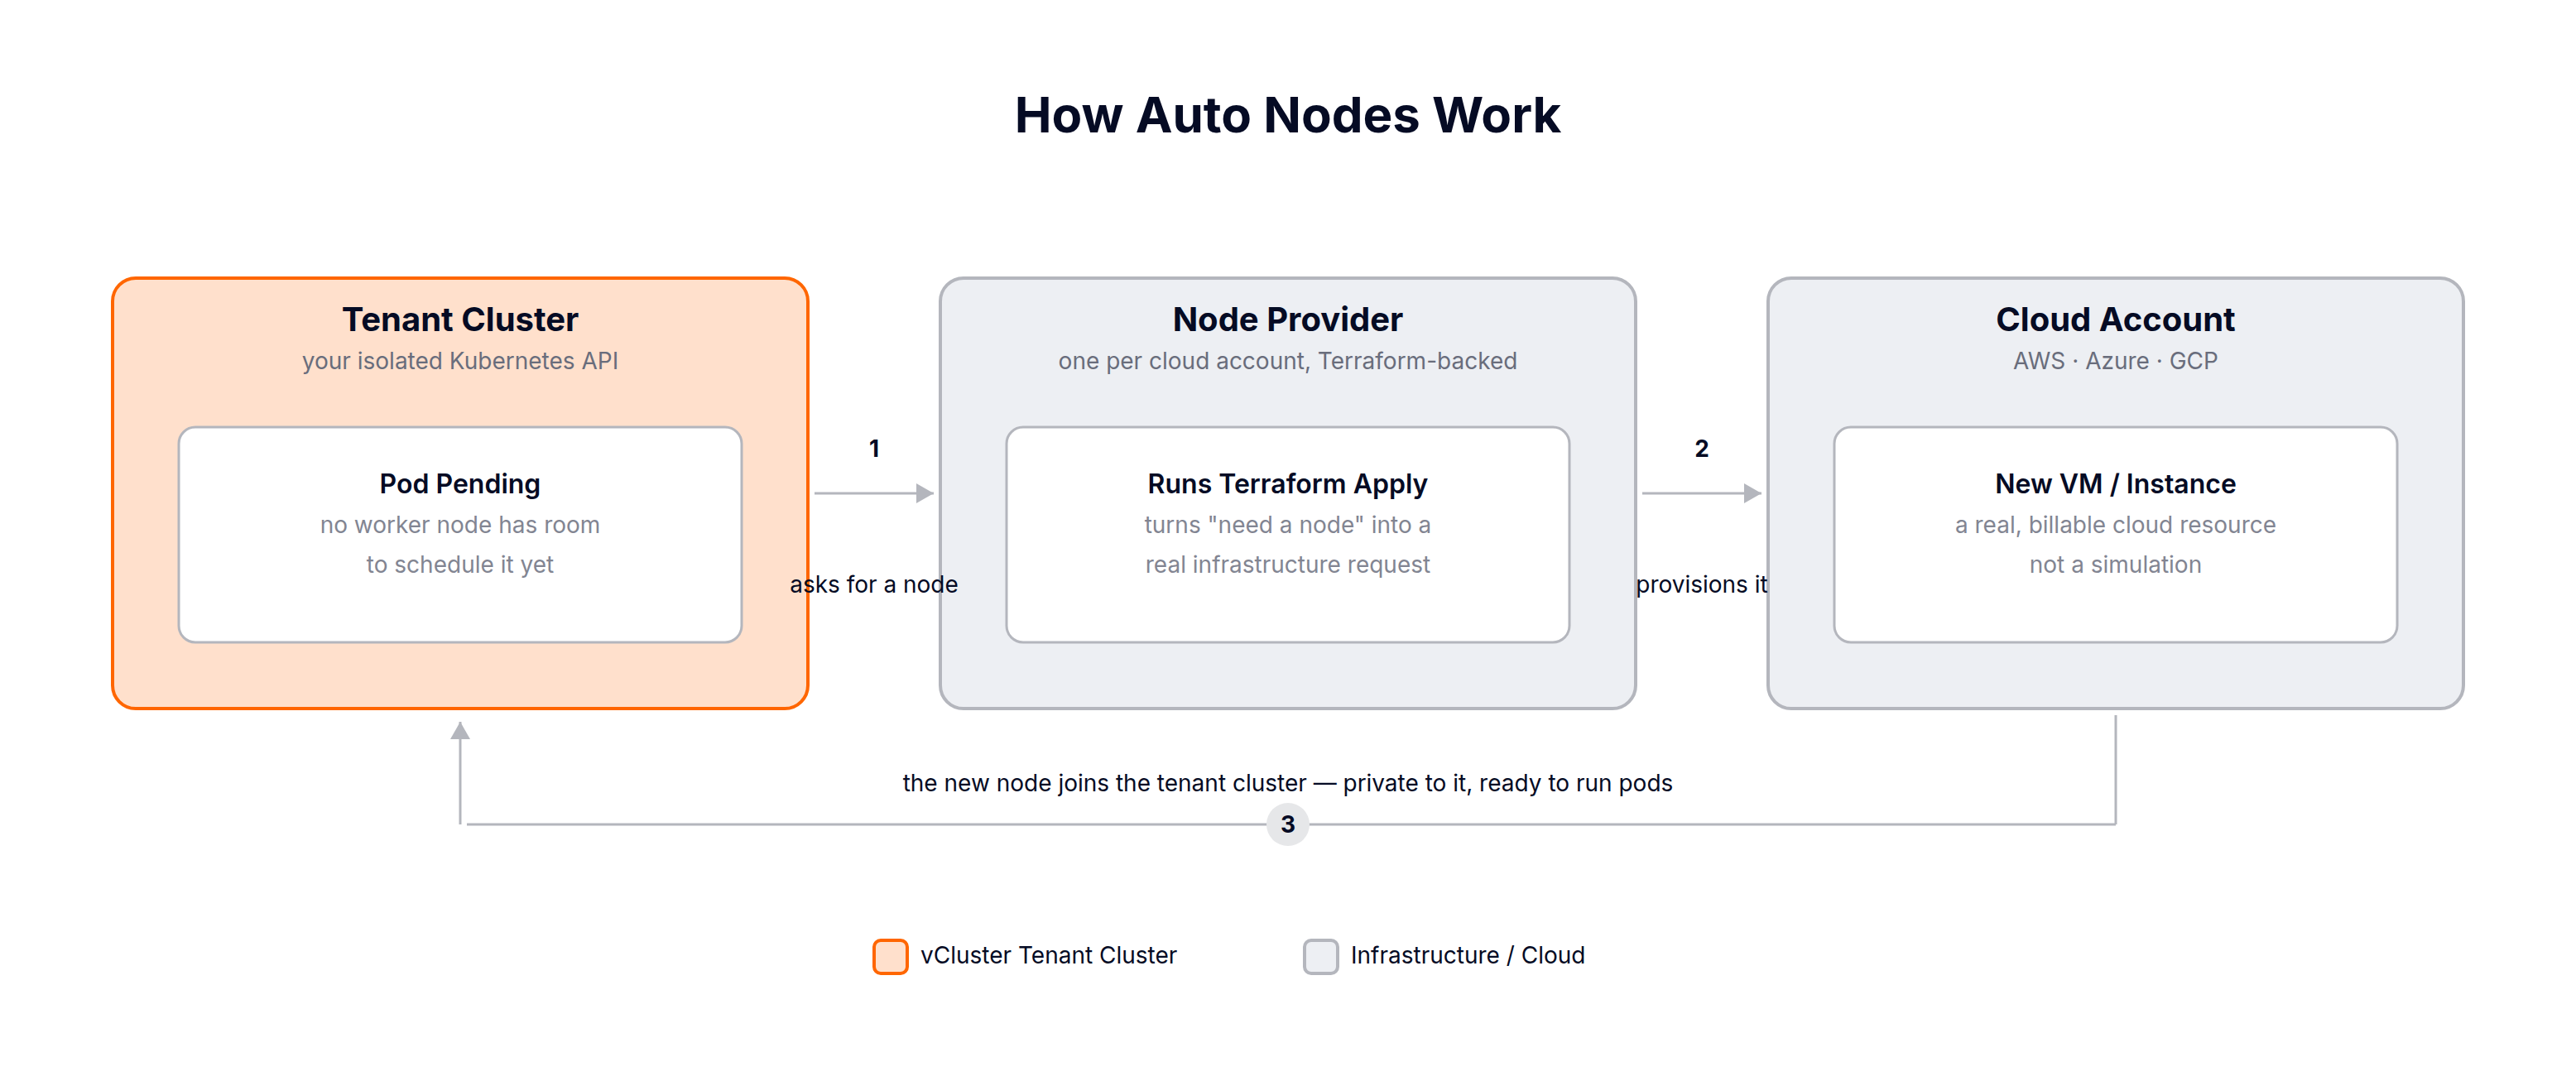
Auto Nodes provides one clear guarantee: every node a tenant cluster receives is dedicated to that tenant. Nodes are claimed only when needed and released when they are no longer required. They are never shared with another tenant, and the same guarantee applies across AWS, Azure, and GCP.
Local tools
A host cluster
Cloud accounts
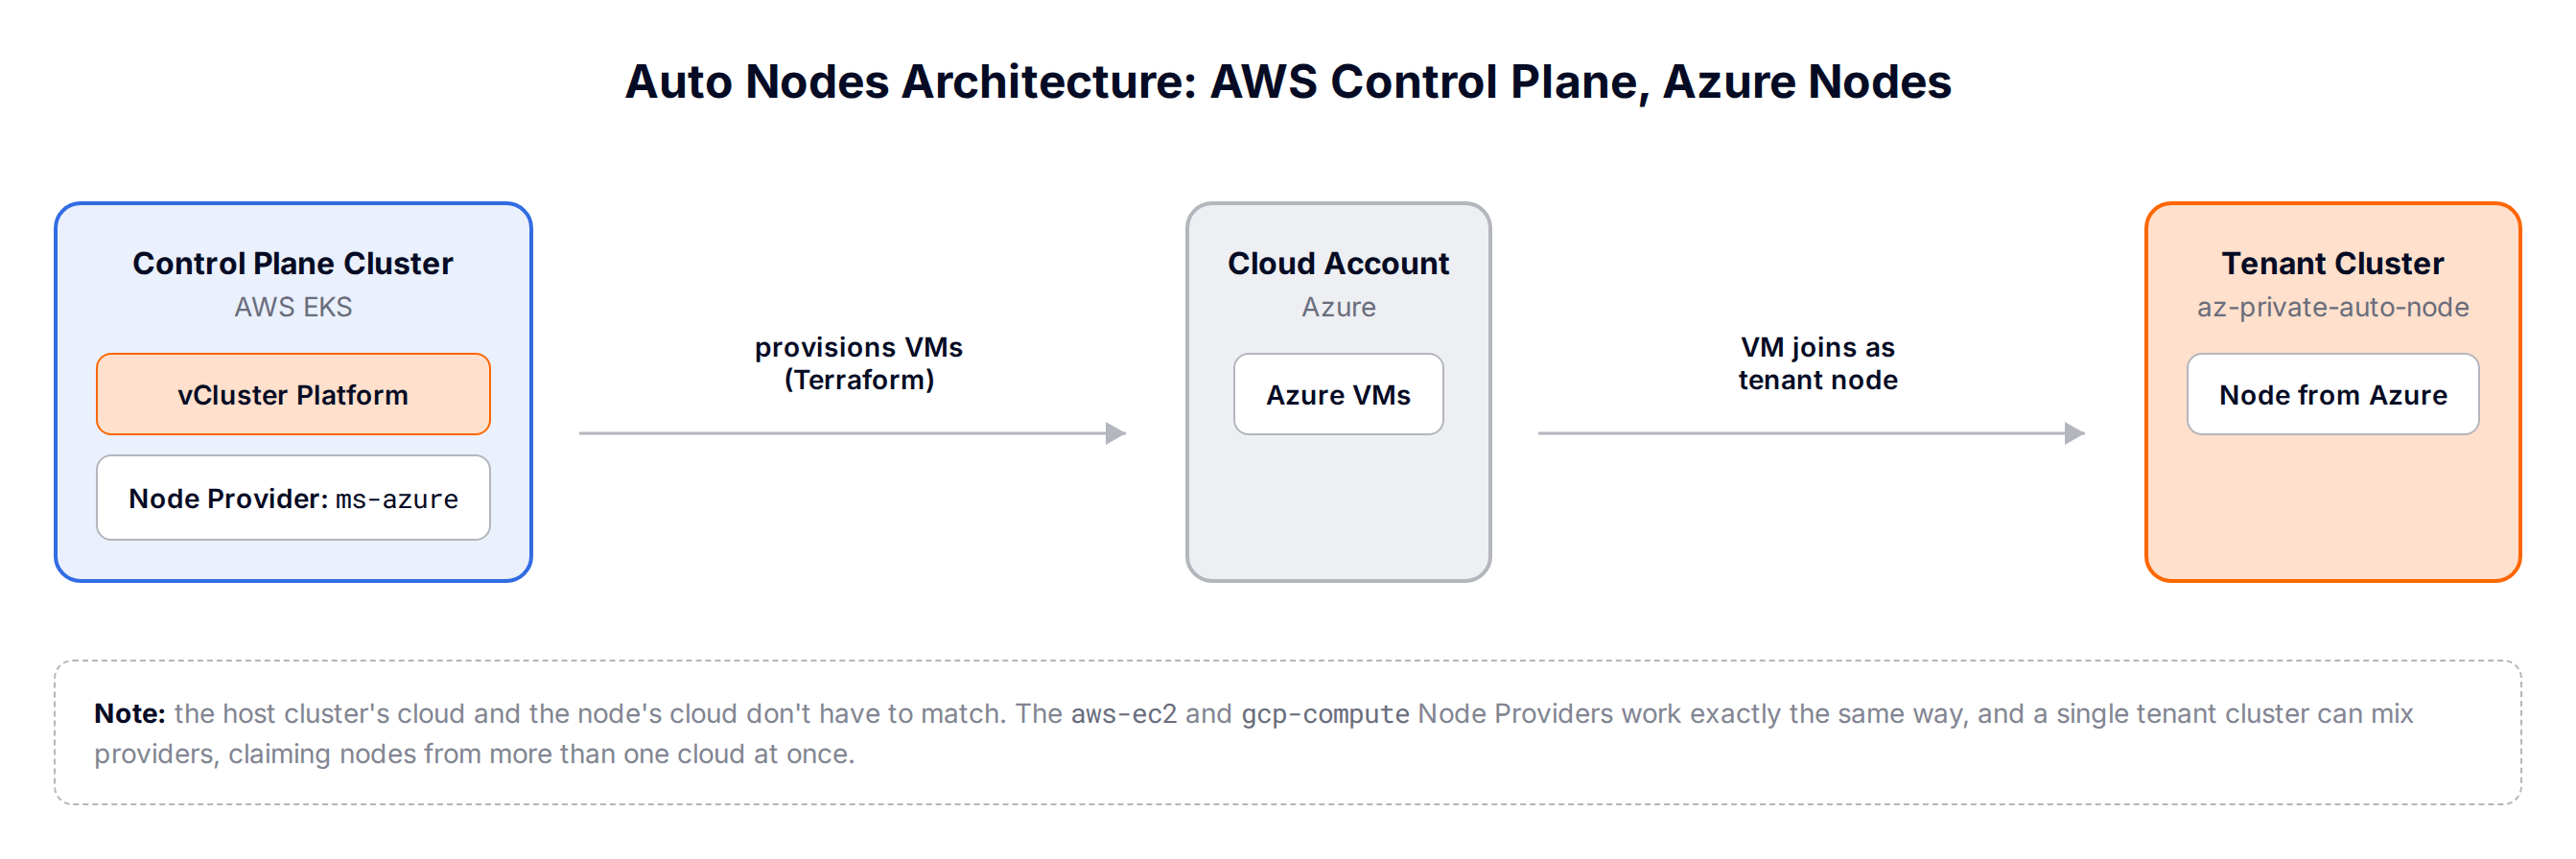
Note: the host cluster's cloud and the node's cloud don't need to match. aws-ec2 and gcp-compute Node Providers work exactly the same way. A single tenant cluster can even mix providers.
From here, we'll set up Auto Nodes on Azure. Platform itself runs on AWS EKS, while the tenant cluster's nodes come from Azure — the host cluster's cloud and the node's cloud don't have to match.
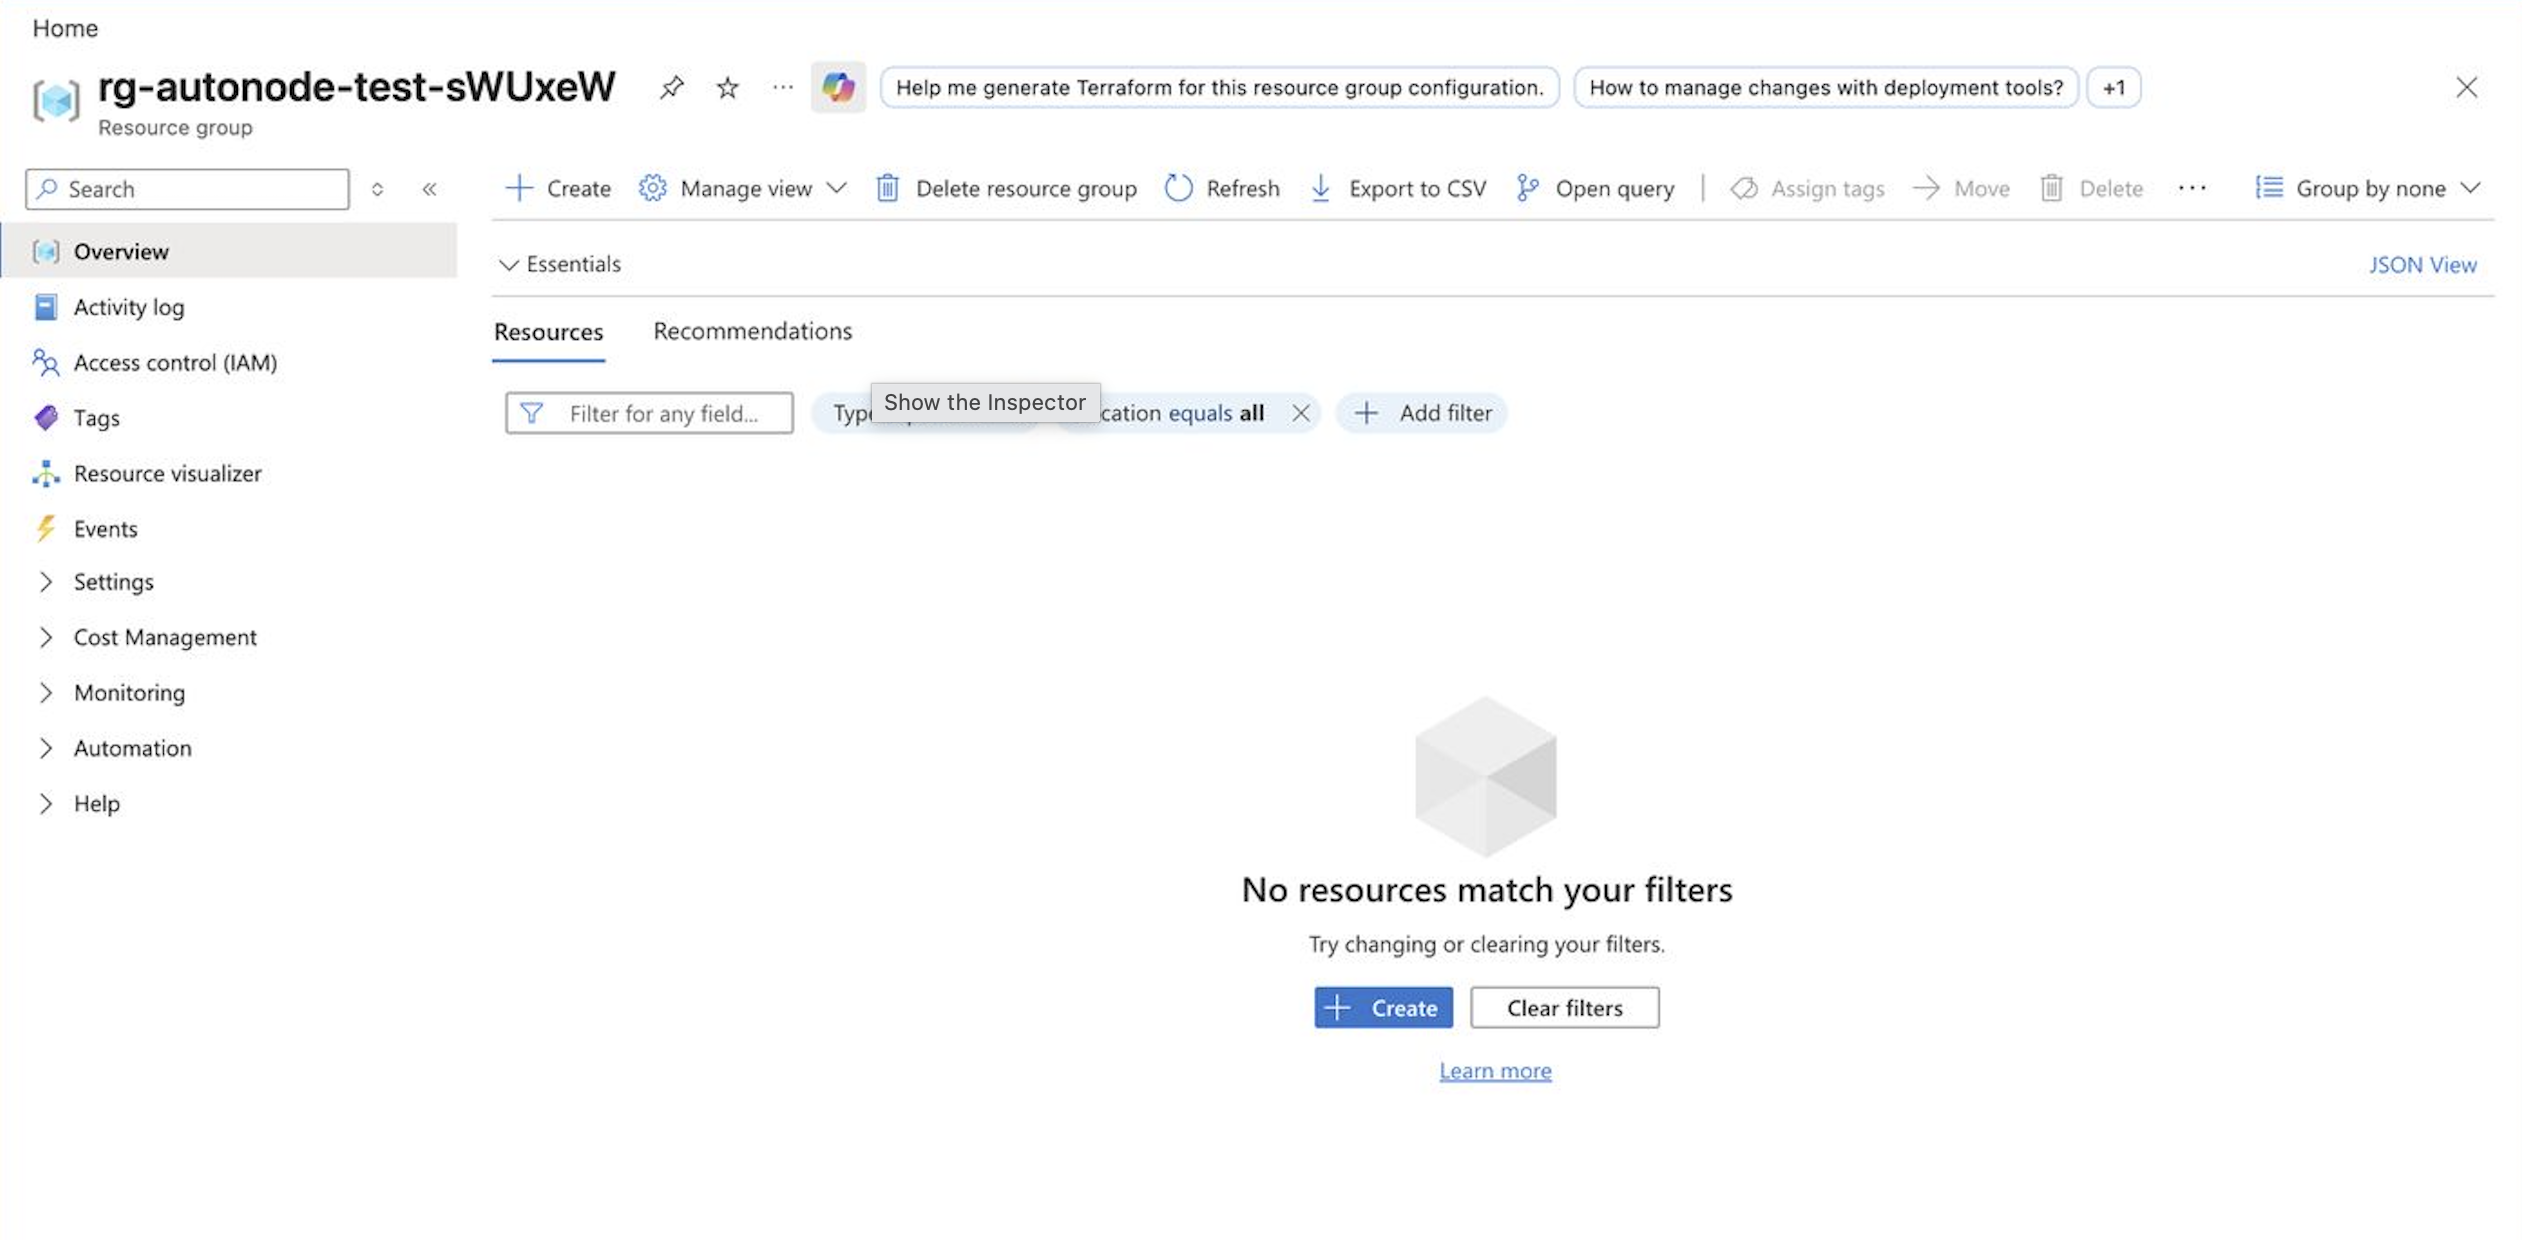
Azure's Node Provider needs an existing resource group. It does not create one for you. It also needs a Service Principal scoped to that resource group:
Attach the permissions from the repo's auto_nodes_role.json to the Service Principal as a custom role scoped to that resource group. This allows Auto Nodes to create the required resources in your Azure subscription. Then generate credentials for the Service Principal, including appId, password, and tenant. You will provide them when creating the Node Provider.
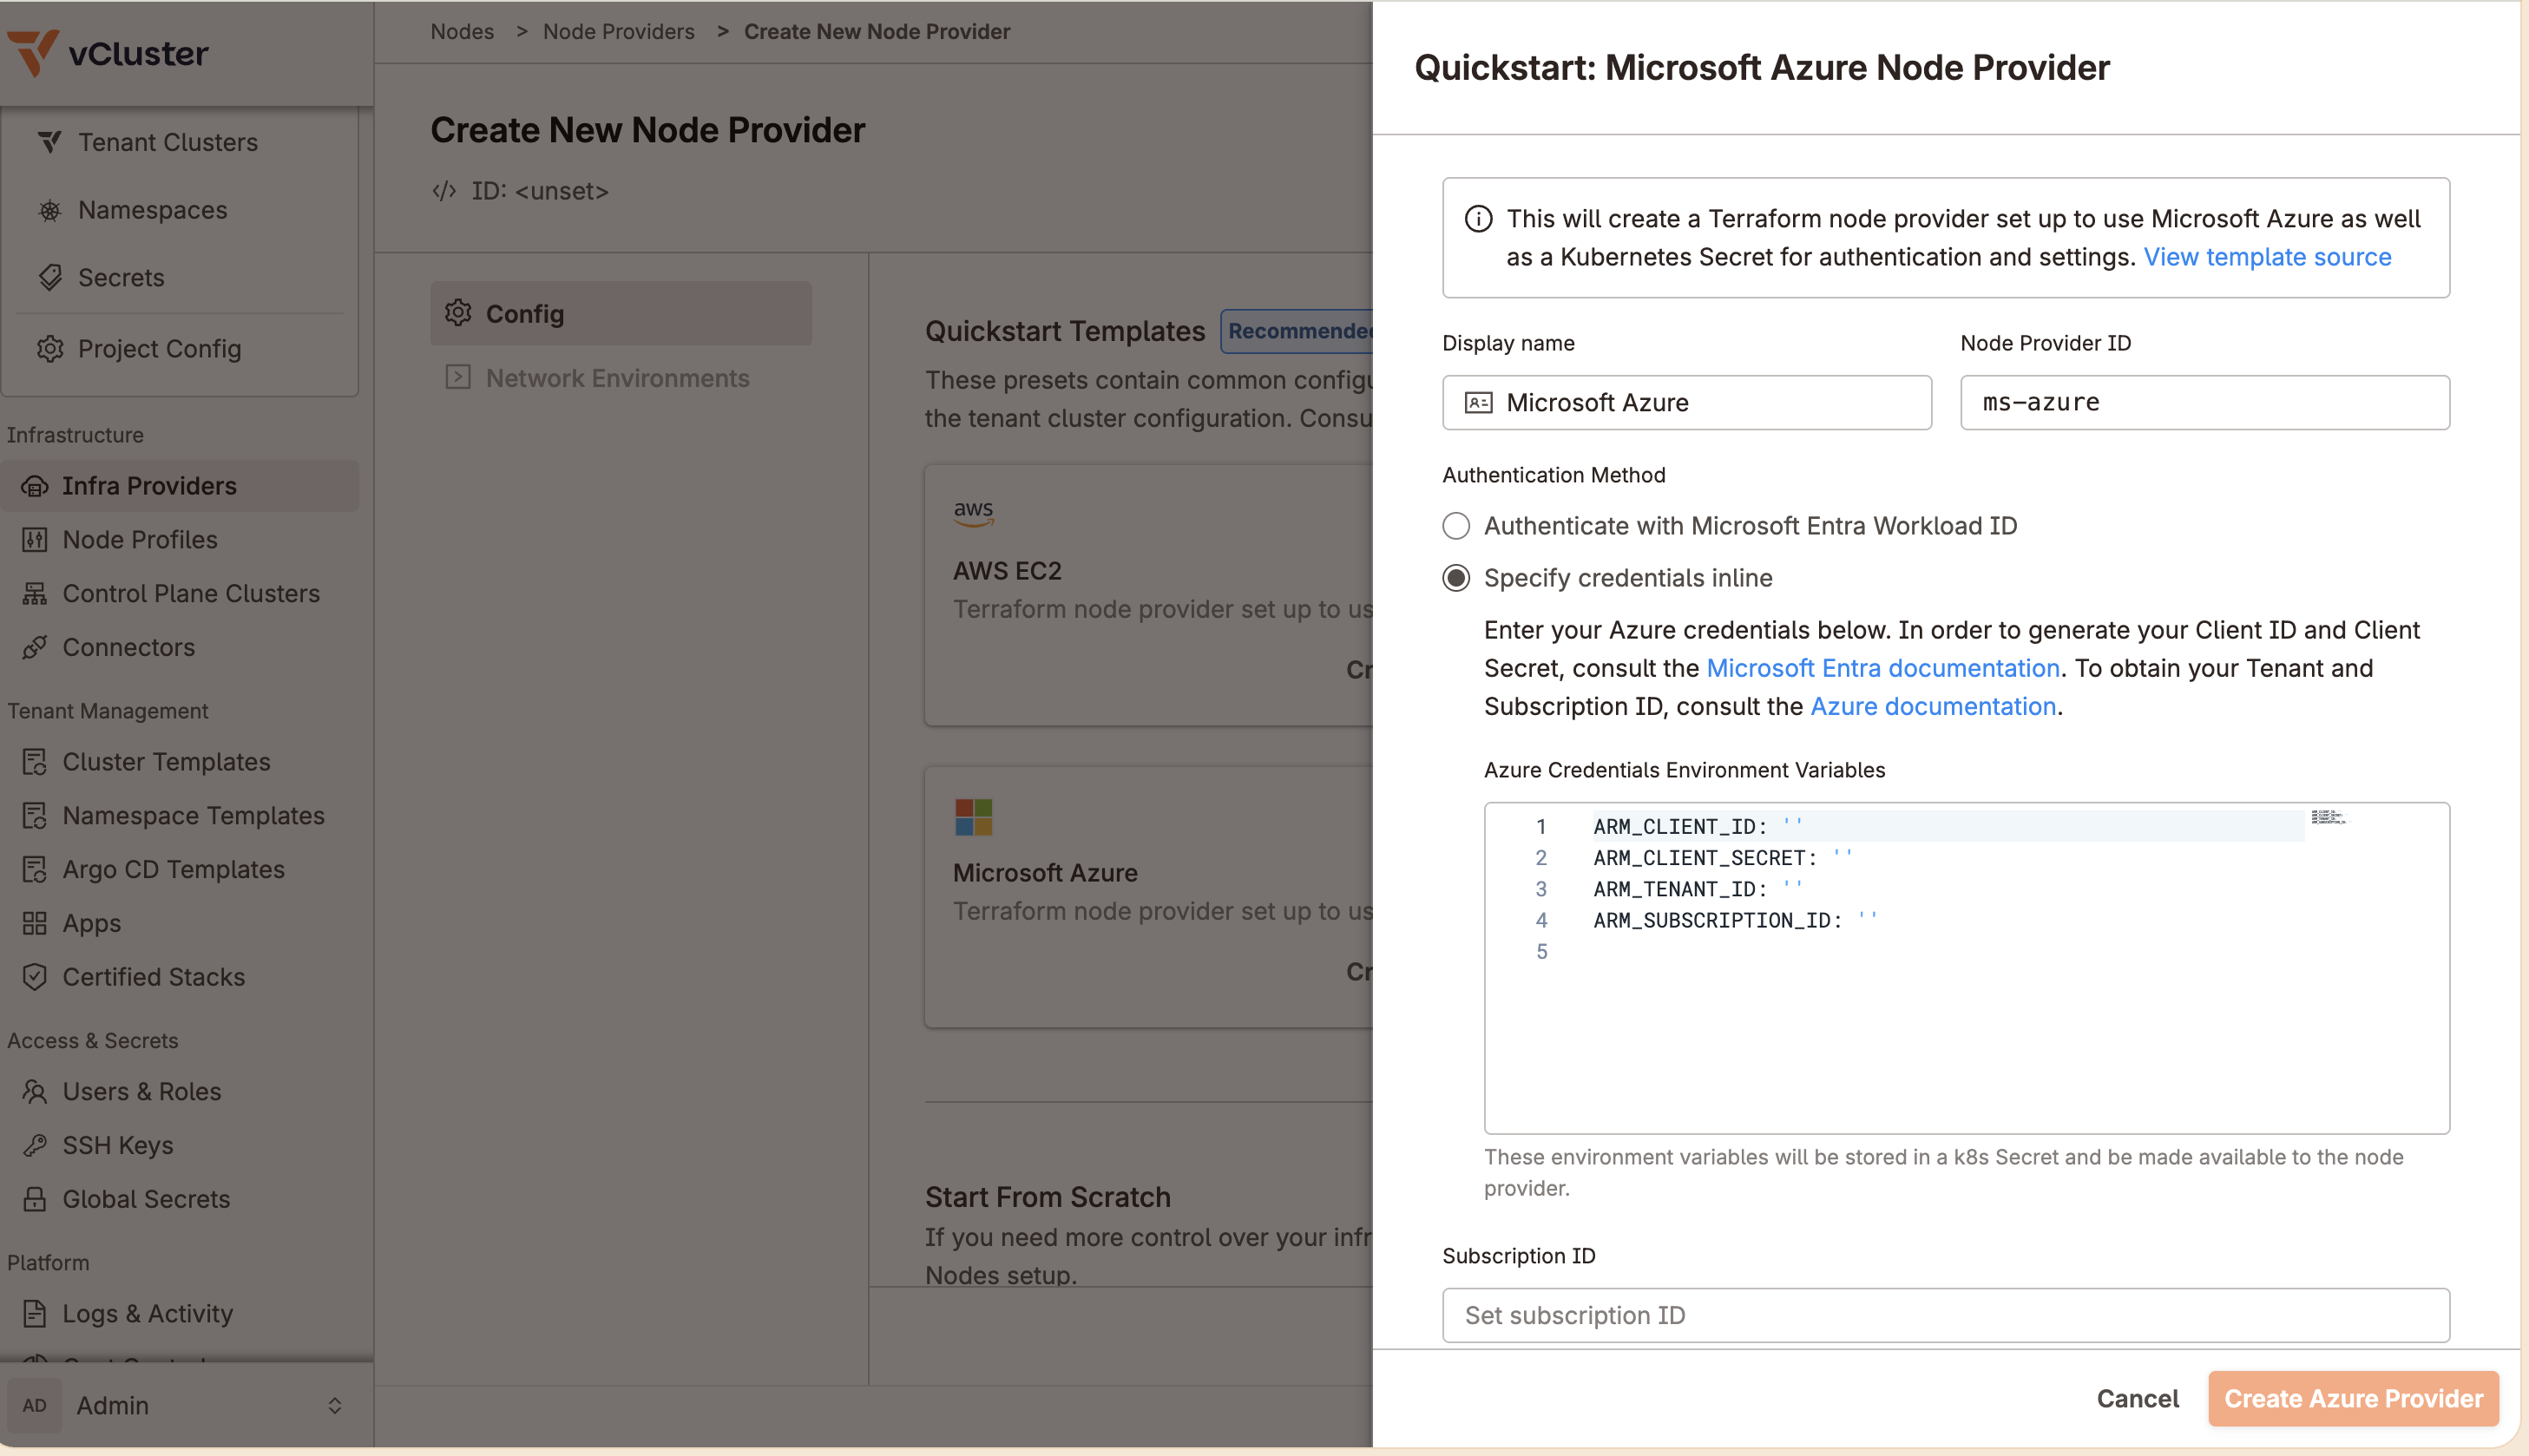
In the Platform UI, go to Infra Providers → Create Infra Provider and use the Quickstart flow for Azure. Under Authentication Method, select Specify credentials inline, then provide the appId, password, and tenant generated in the previous step as the ARM_CLIENT_ID, ARM_CLIENT_SECRET, and ARM_TENANT_ID environment variables, plus your ARM_SUBSCRIPTION_ID. These credentials allow the Node Provider to create nodes in your Azure subscription.
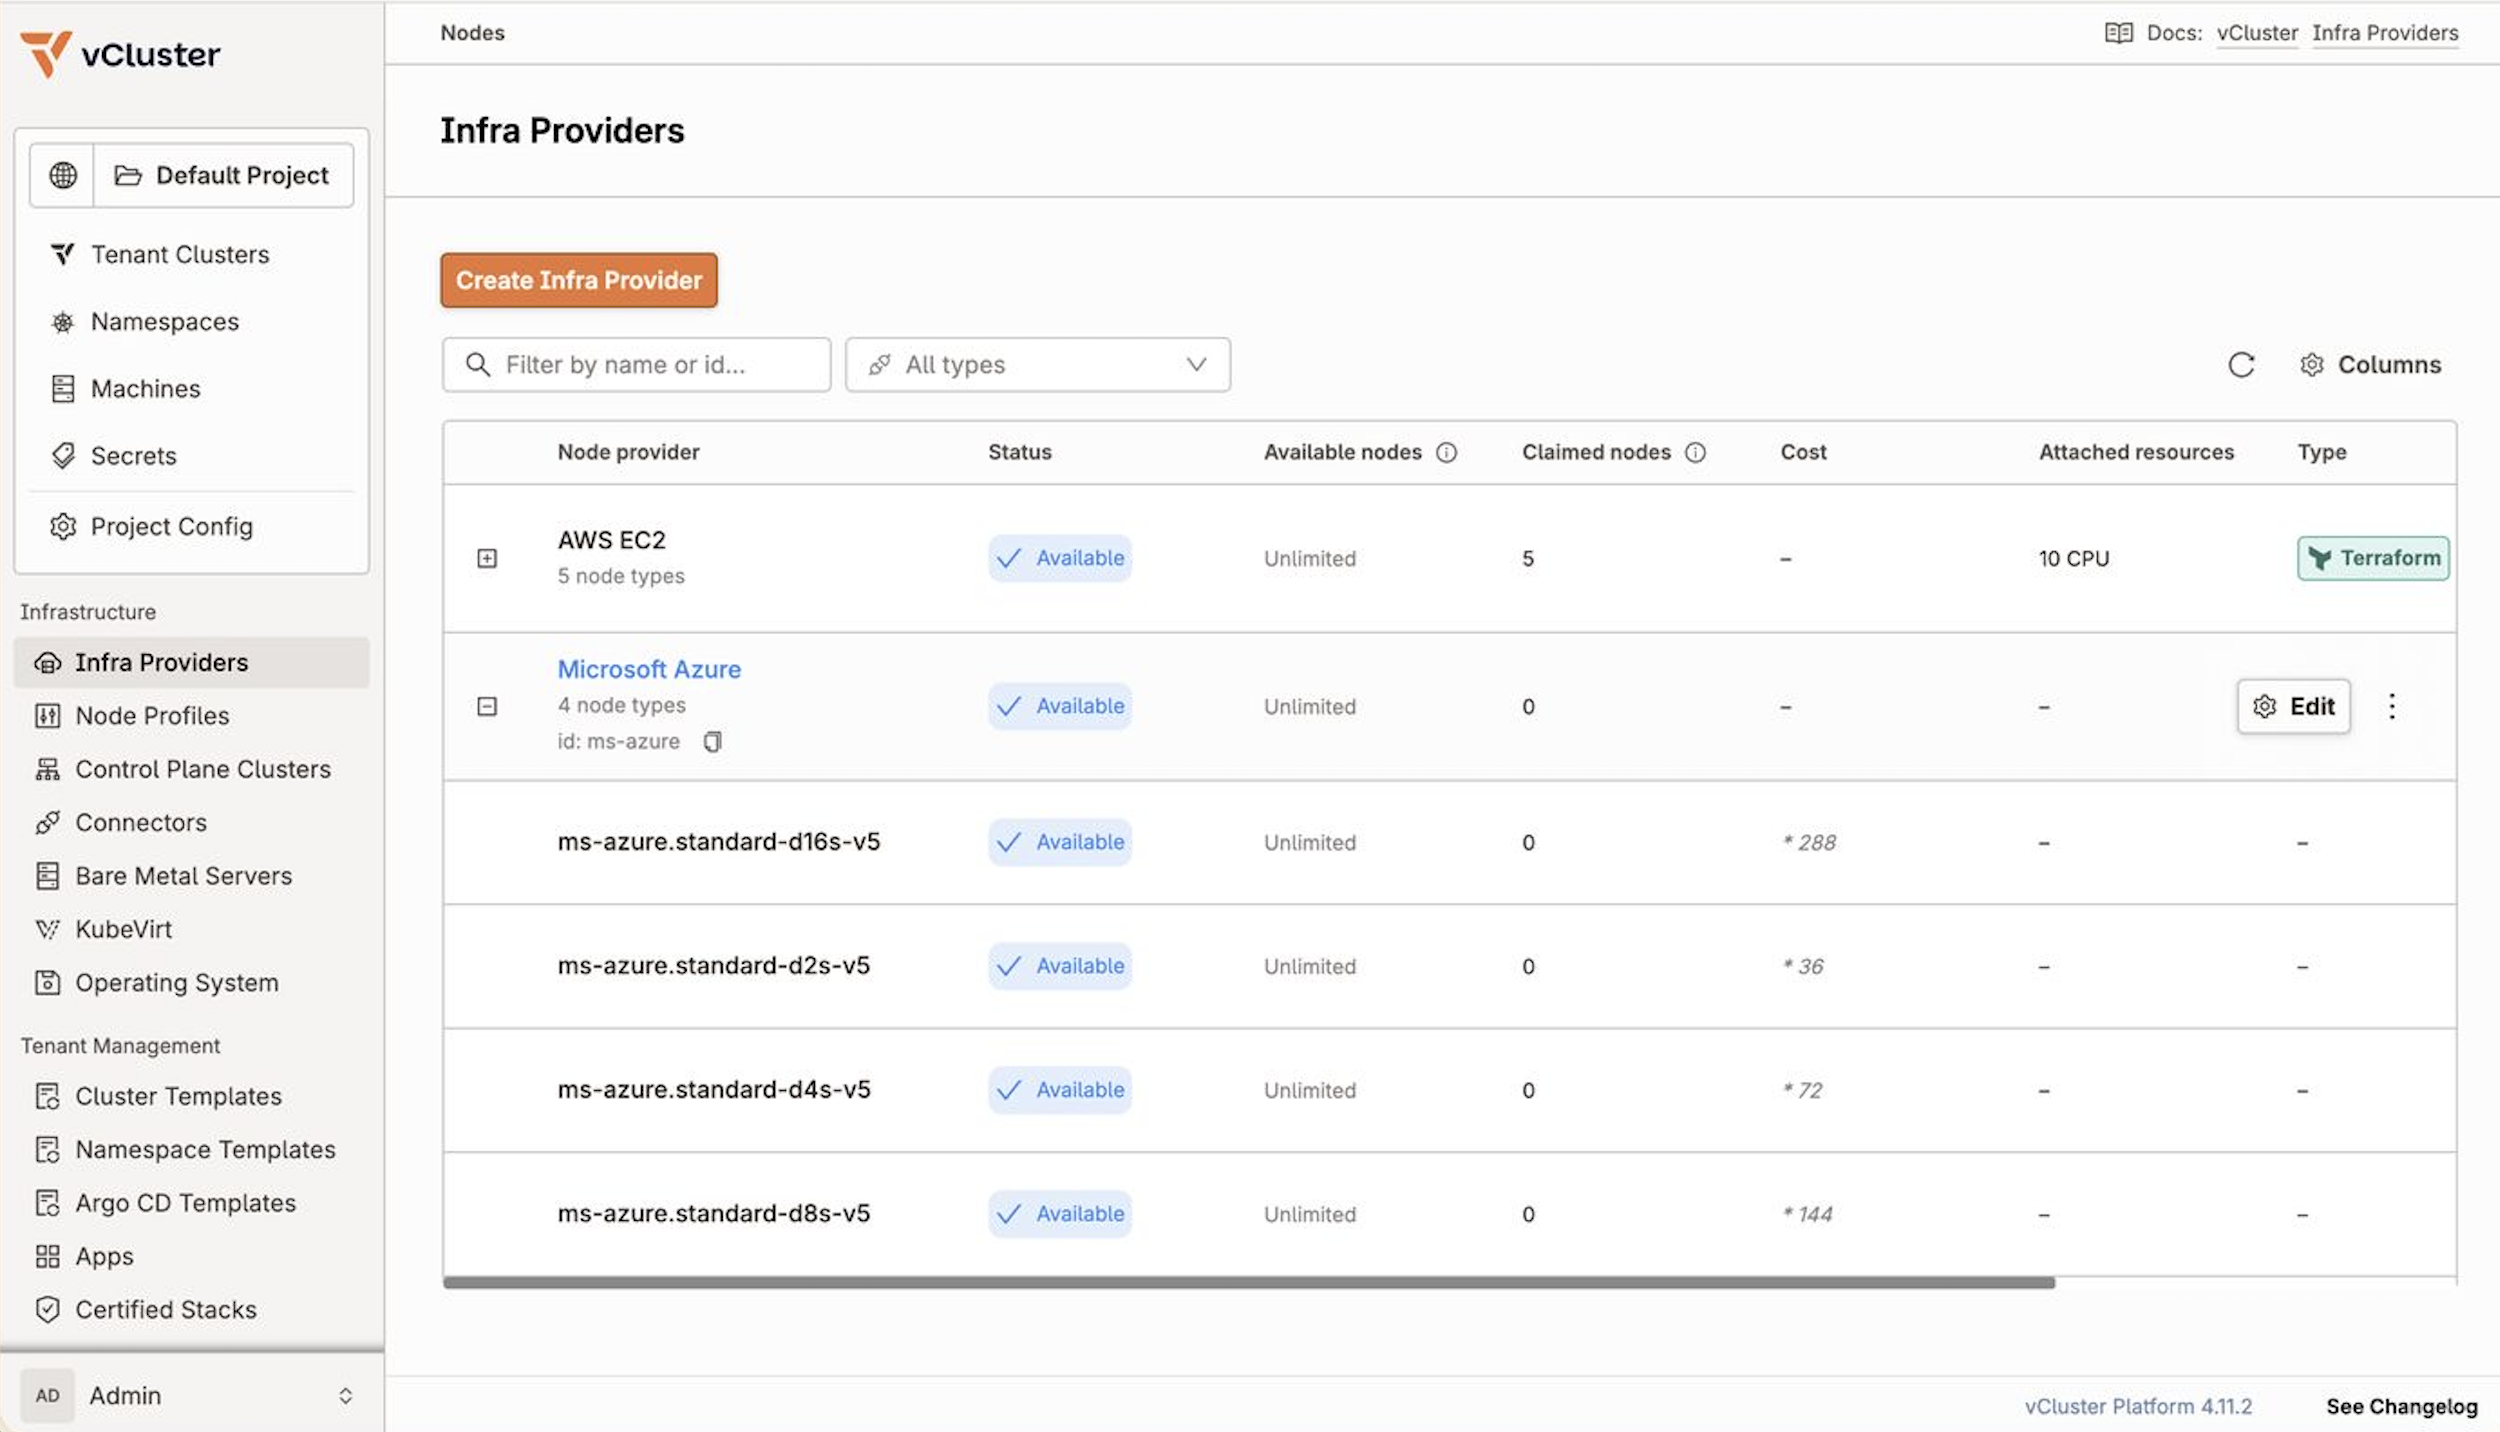
After it is created, both clouds appear side by side, each with its own node types and cost:
In the Platform UI, go to Tenant Clusters → Create Tenant Cluster and choose the Azure Node Provider. Add the autoNodes block to the YAML editor:
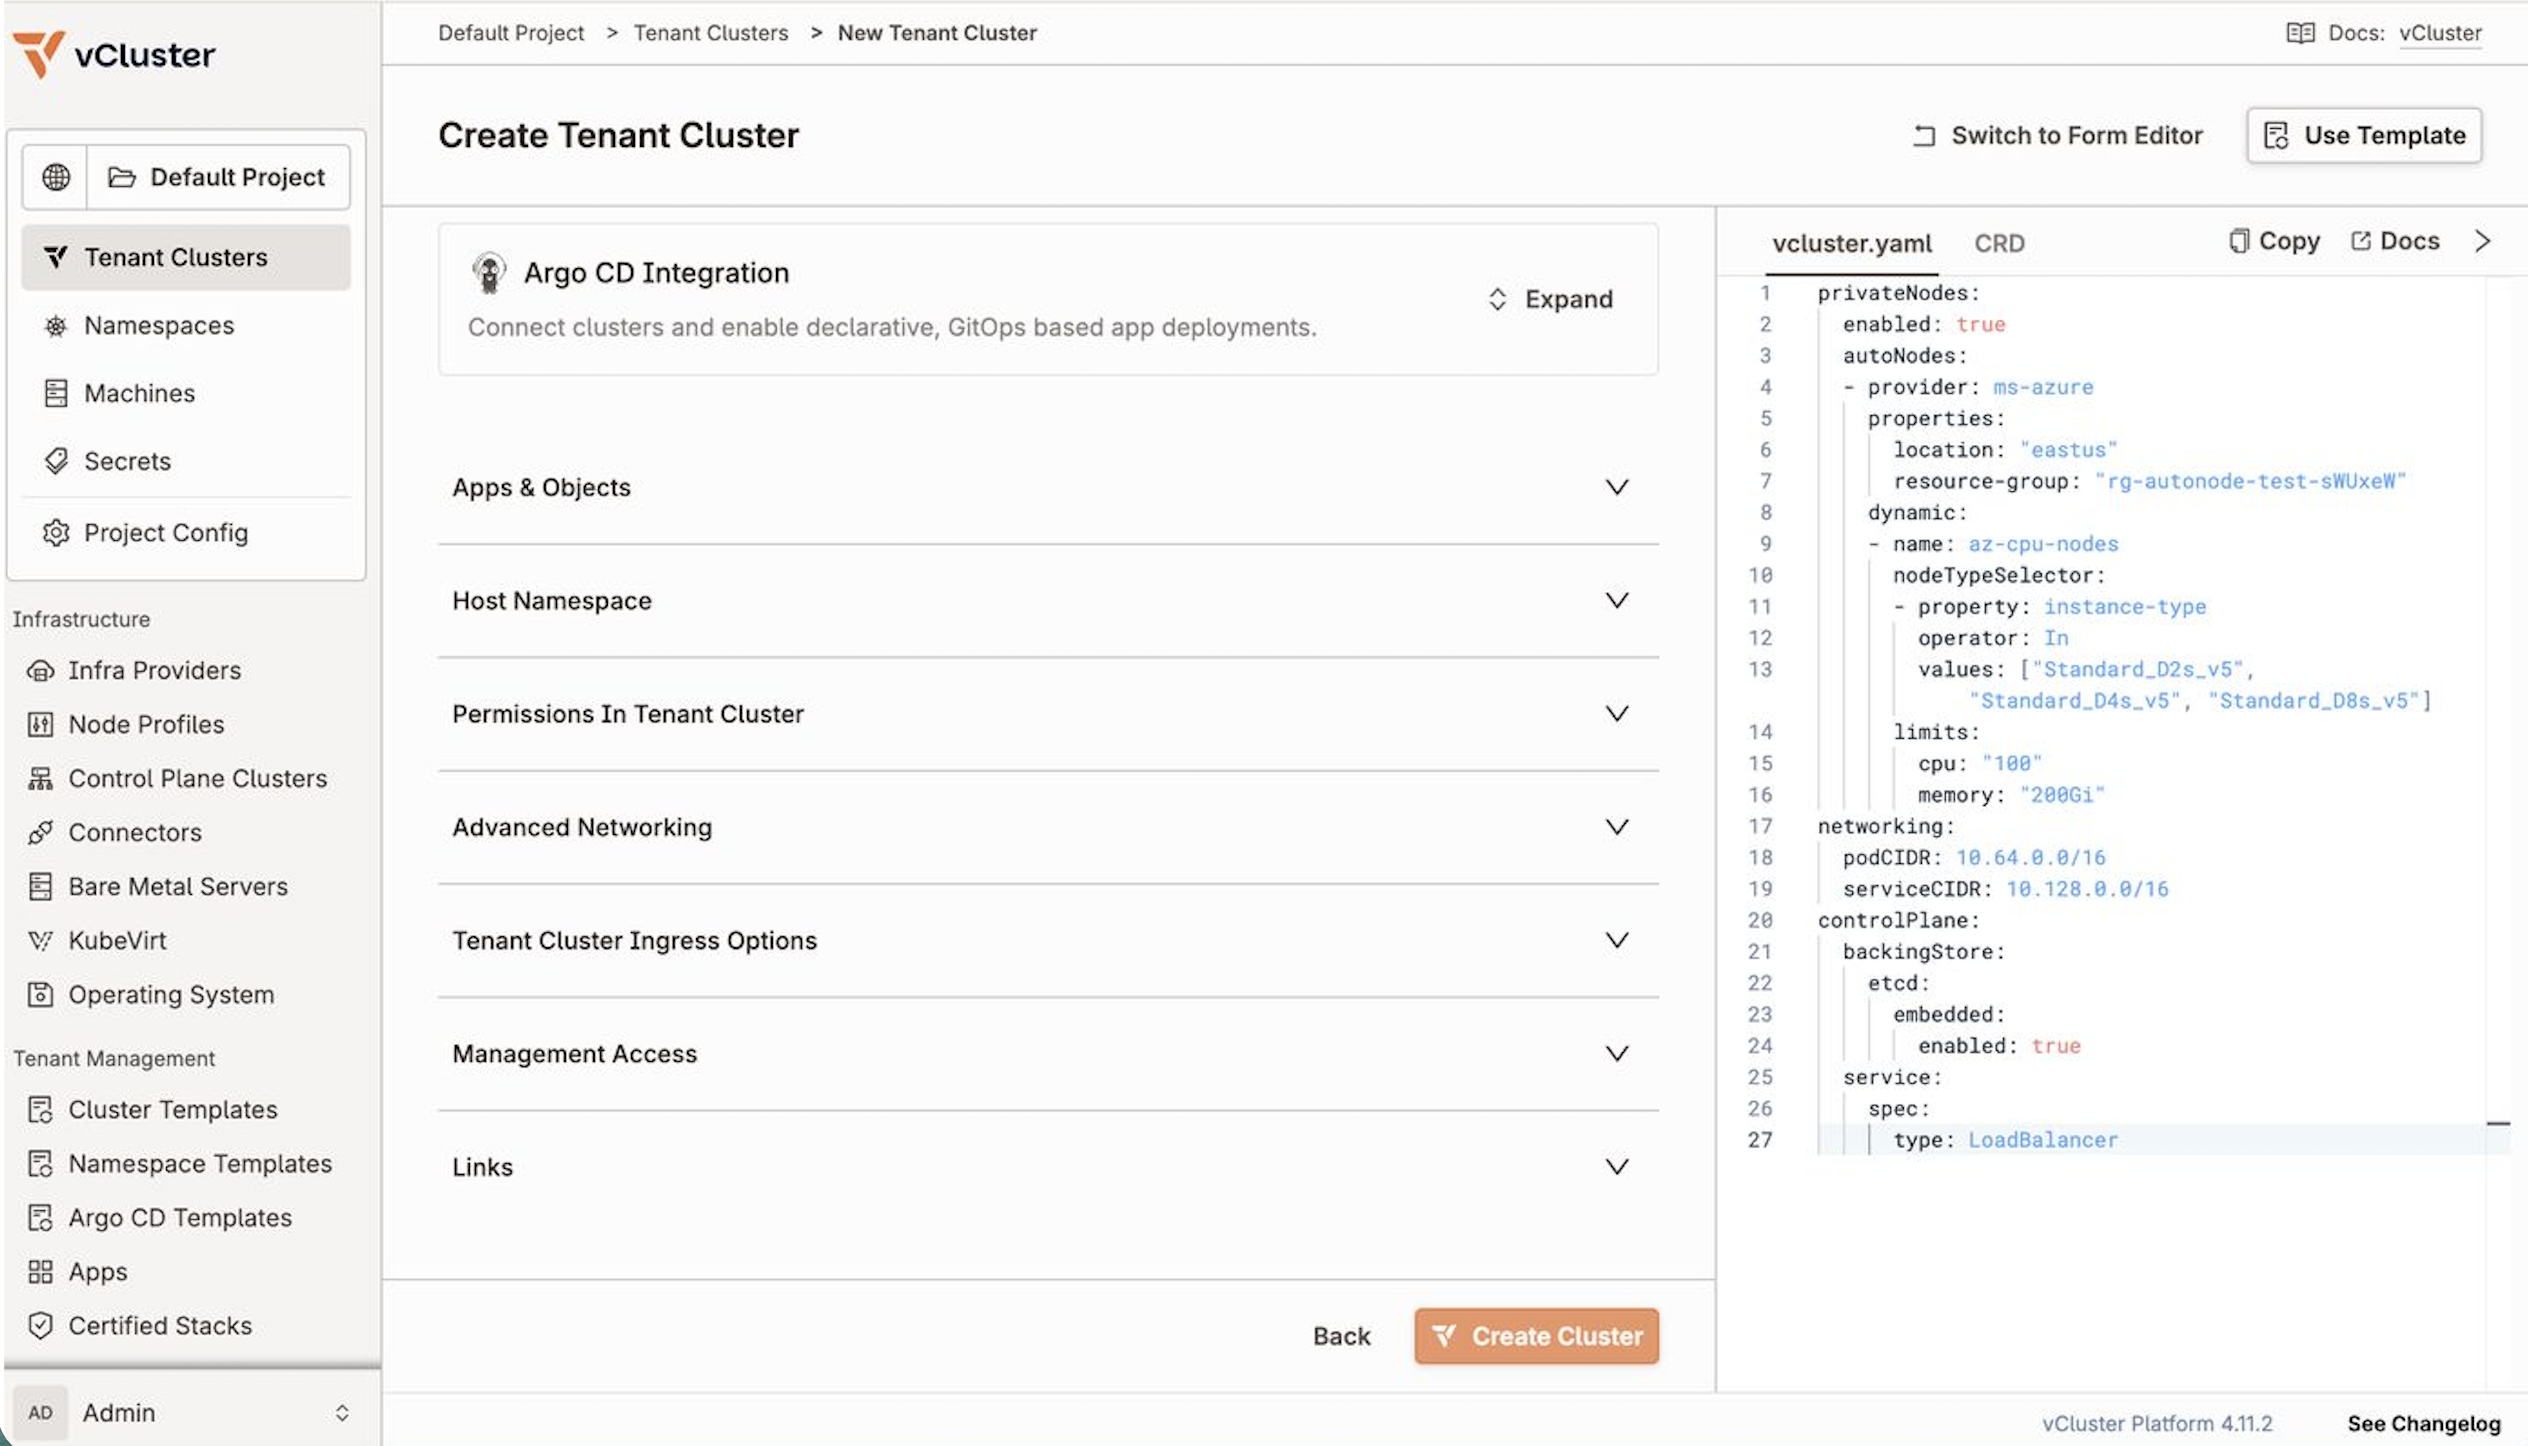
privateNodes:
  enabled: true
  autoNodes:
    - provider: ms-azure
      dynamic:
        - name: az-cpu-nodes
          location: eastus
          resource-group: rg-autonode-test-sWUxeW
          nodeTypeSelector:
            - property: instance-type
              operator: In
              values: ["Standard_D2s_v5", "Standard_D4s_v5", "Standard_D8s_v5"]
          limits:
            cpu: "100"
            memory: "200Gi"
Click Create.
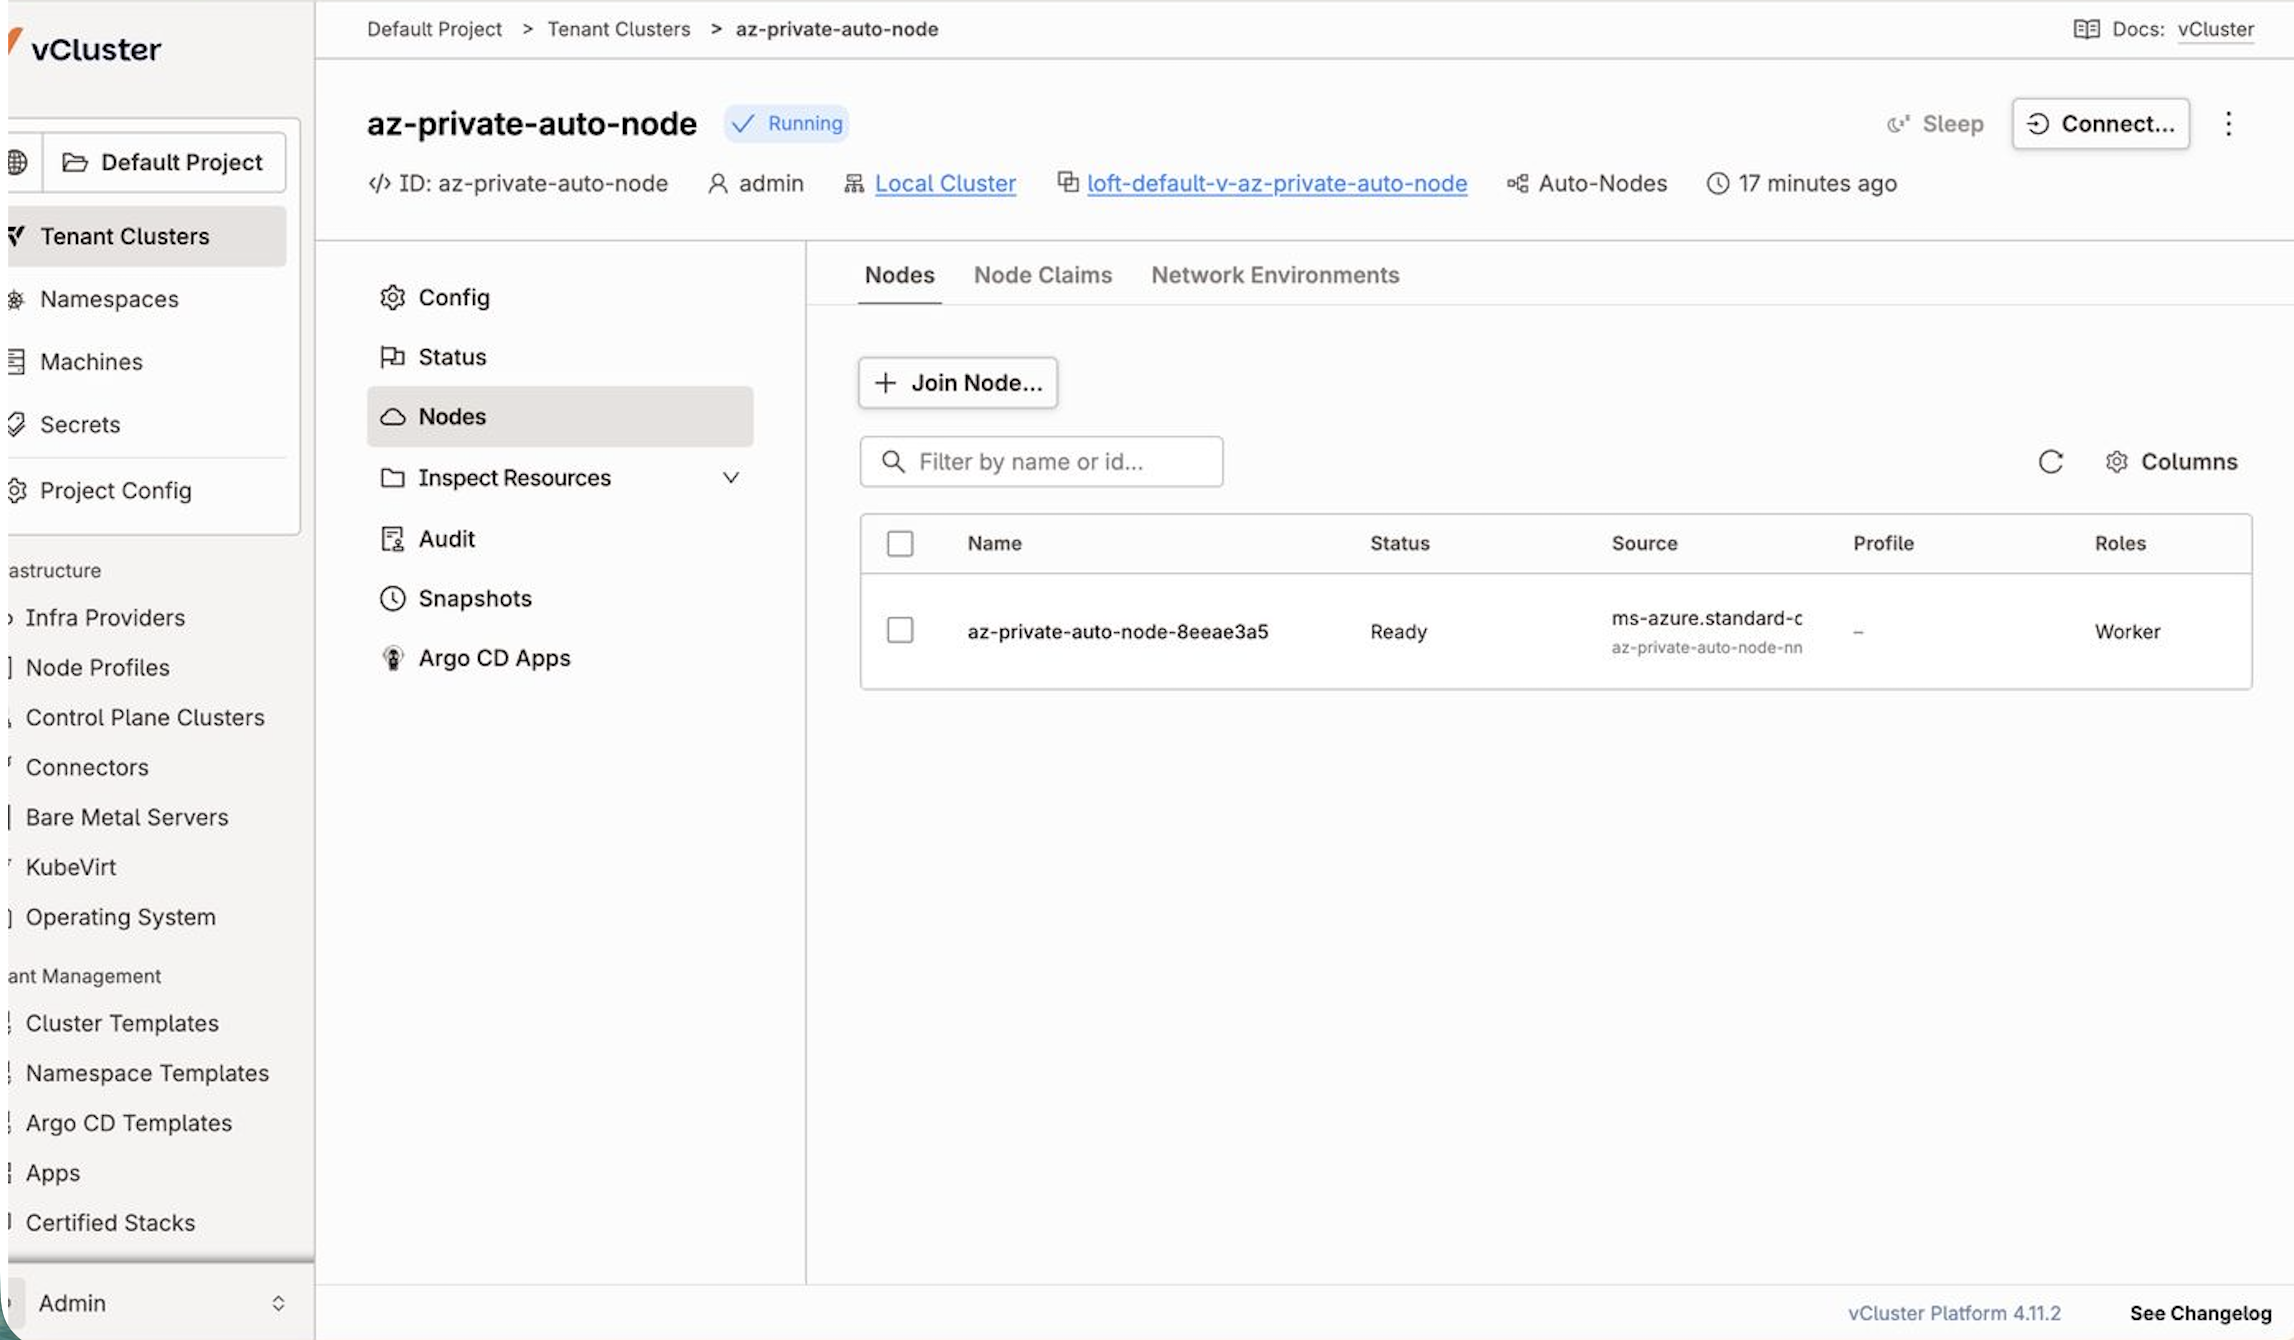
Running Tenant Kubernetes v1.36.0
az-private-auto-node-8eeae3a5   Ready   Worker
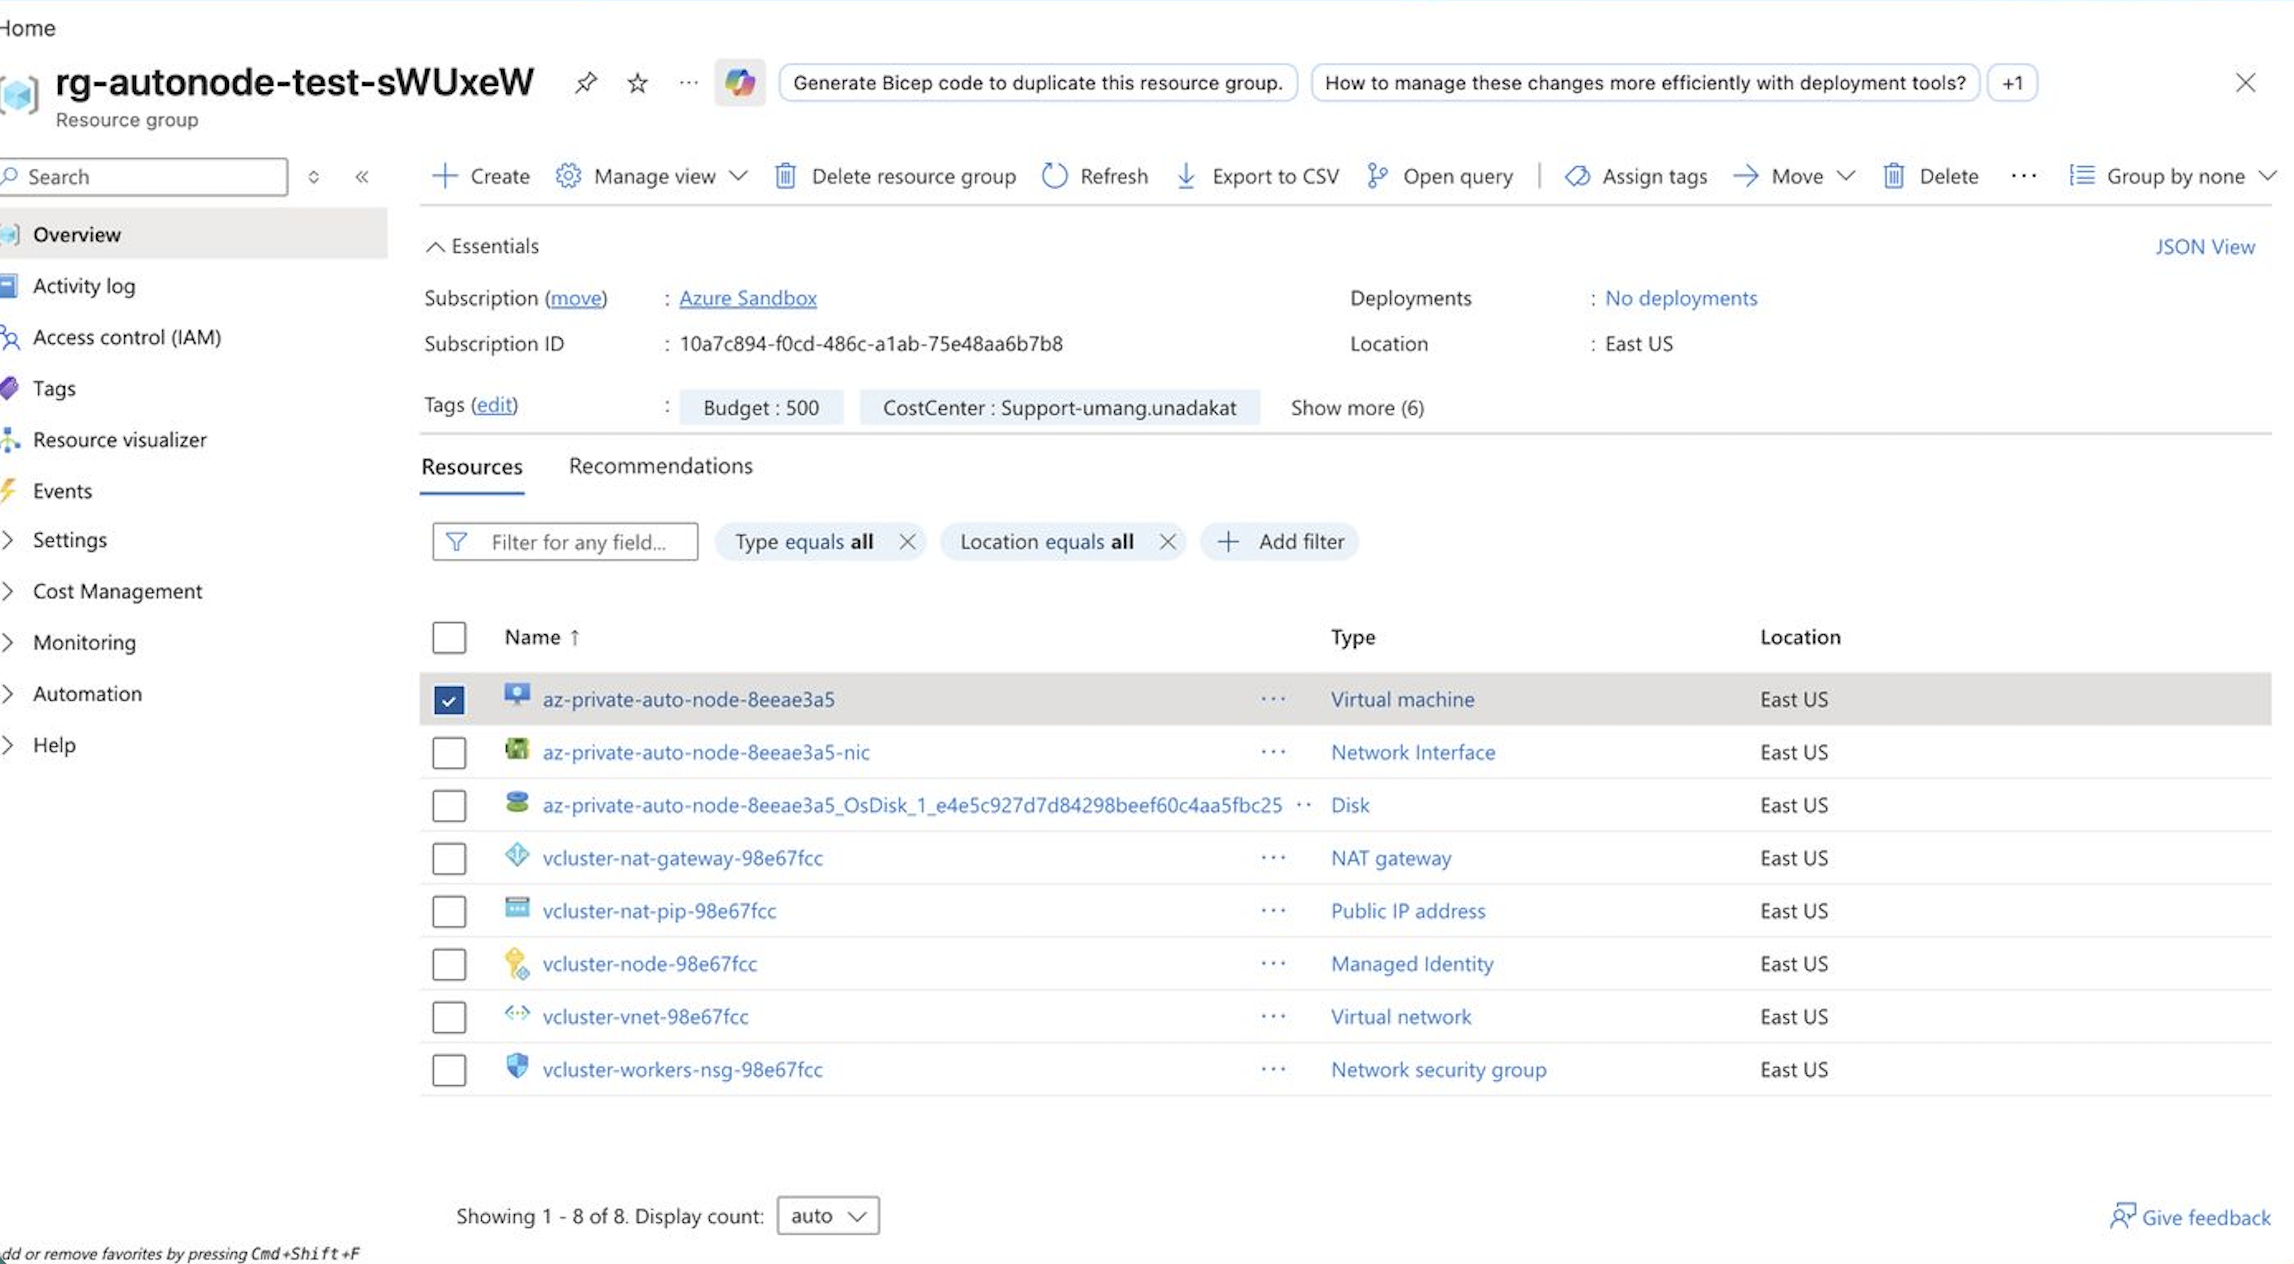
In the Azure Portal, the resource group contains exactly what this pattern should produce: the VM, its NIC and disk, a NAT Gateway with its own Public IP, a managed identity, a VNet, and one network security group.
Note: the "specify credentials inline" step can sometimes fail silently, leaving the Node Provider without valid credentials. If nodes don't claim, double check the Service Principal secret was saved correctly.
Note: some subscriptions have a VM family quota of 0 for the instance types above. If node claims fail, request a quota increase for that VM family in the target region first.
A tenant cluster with one Ready node doesn't fully prove Auto Nodes reacts to real demand — that first node may just be there to run the tenant cluster's own system pods. To see a workload directly trigger a new claim, deploy something and then scale past what the existing node can hold.
apiVersion: apps/v1
kind: Deployment
metadata:
  name: test-workload
spec:
  replicas: 1
  selector:
    matchLabels:
      app: test-workload
  template:
    metadata:
      labels:
        app: test-workload
    spec:
      containers:
      - name: nginx
        image: nginx:1.27
        resources:
          requests:
            cpu: "500m"
            memory: "512Mi"
          limits:
            cpu: "1"
            memory: "1Gi"
kubectl apply -f test-workload.yaml
kubectl scale deployment test-workload --replicas=5
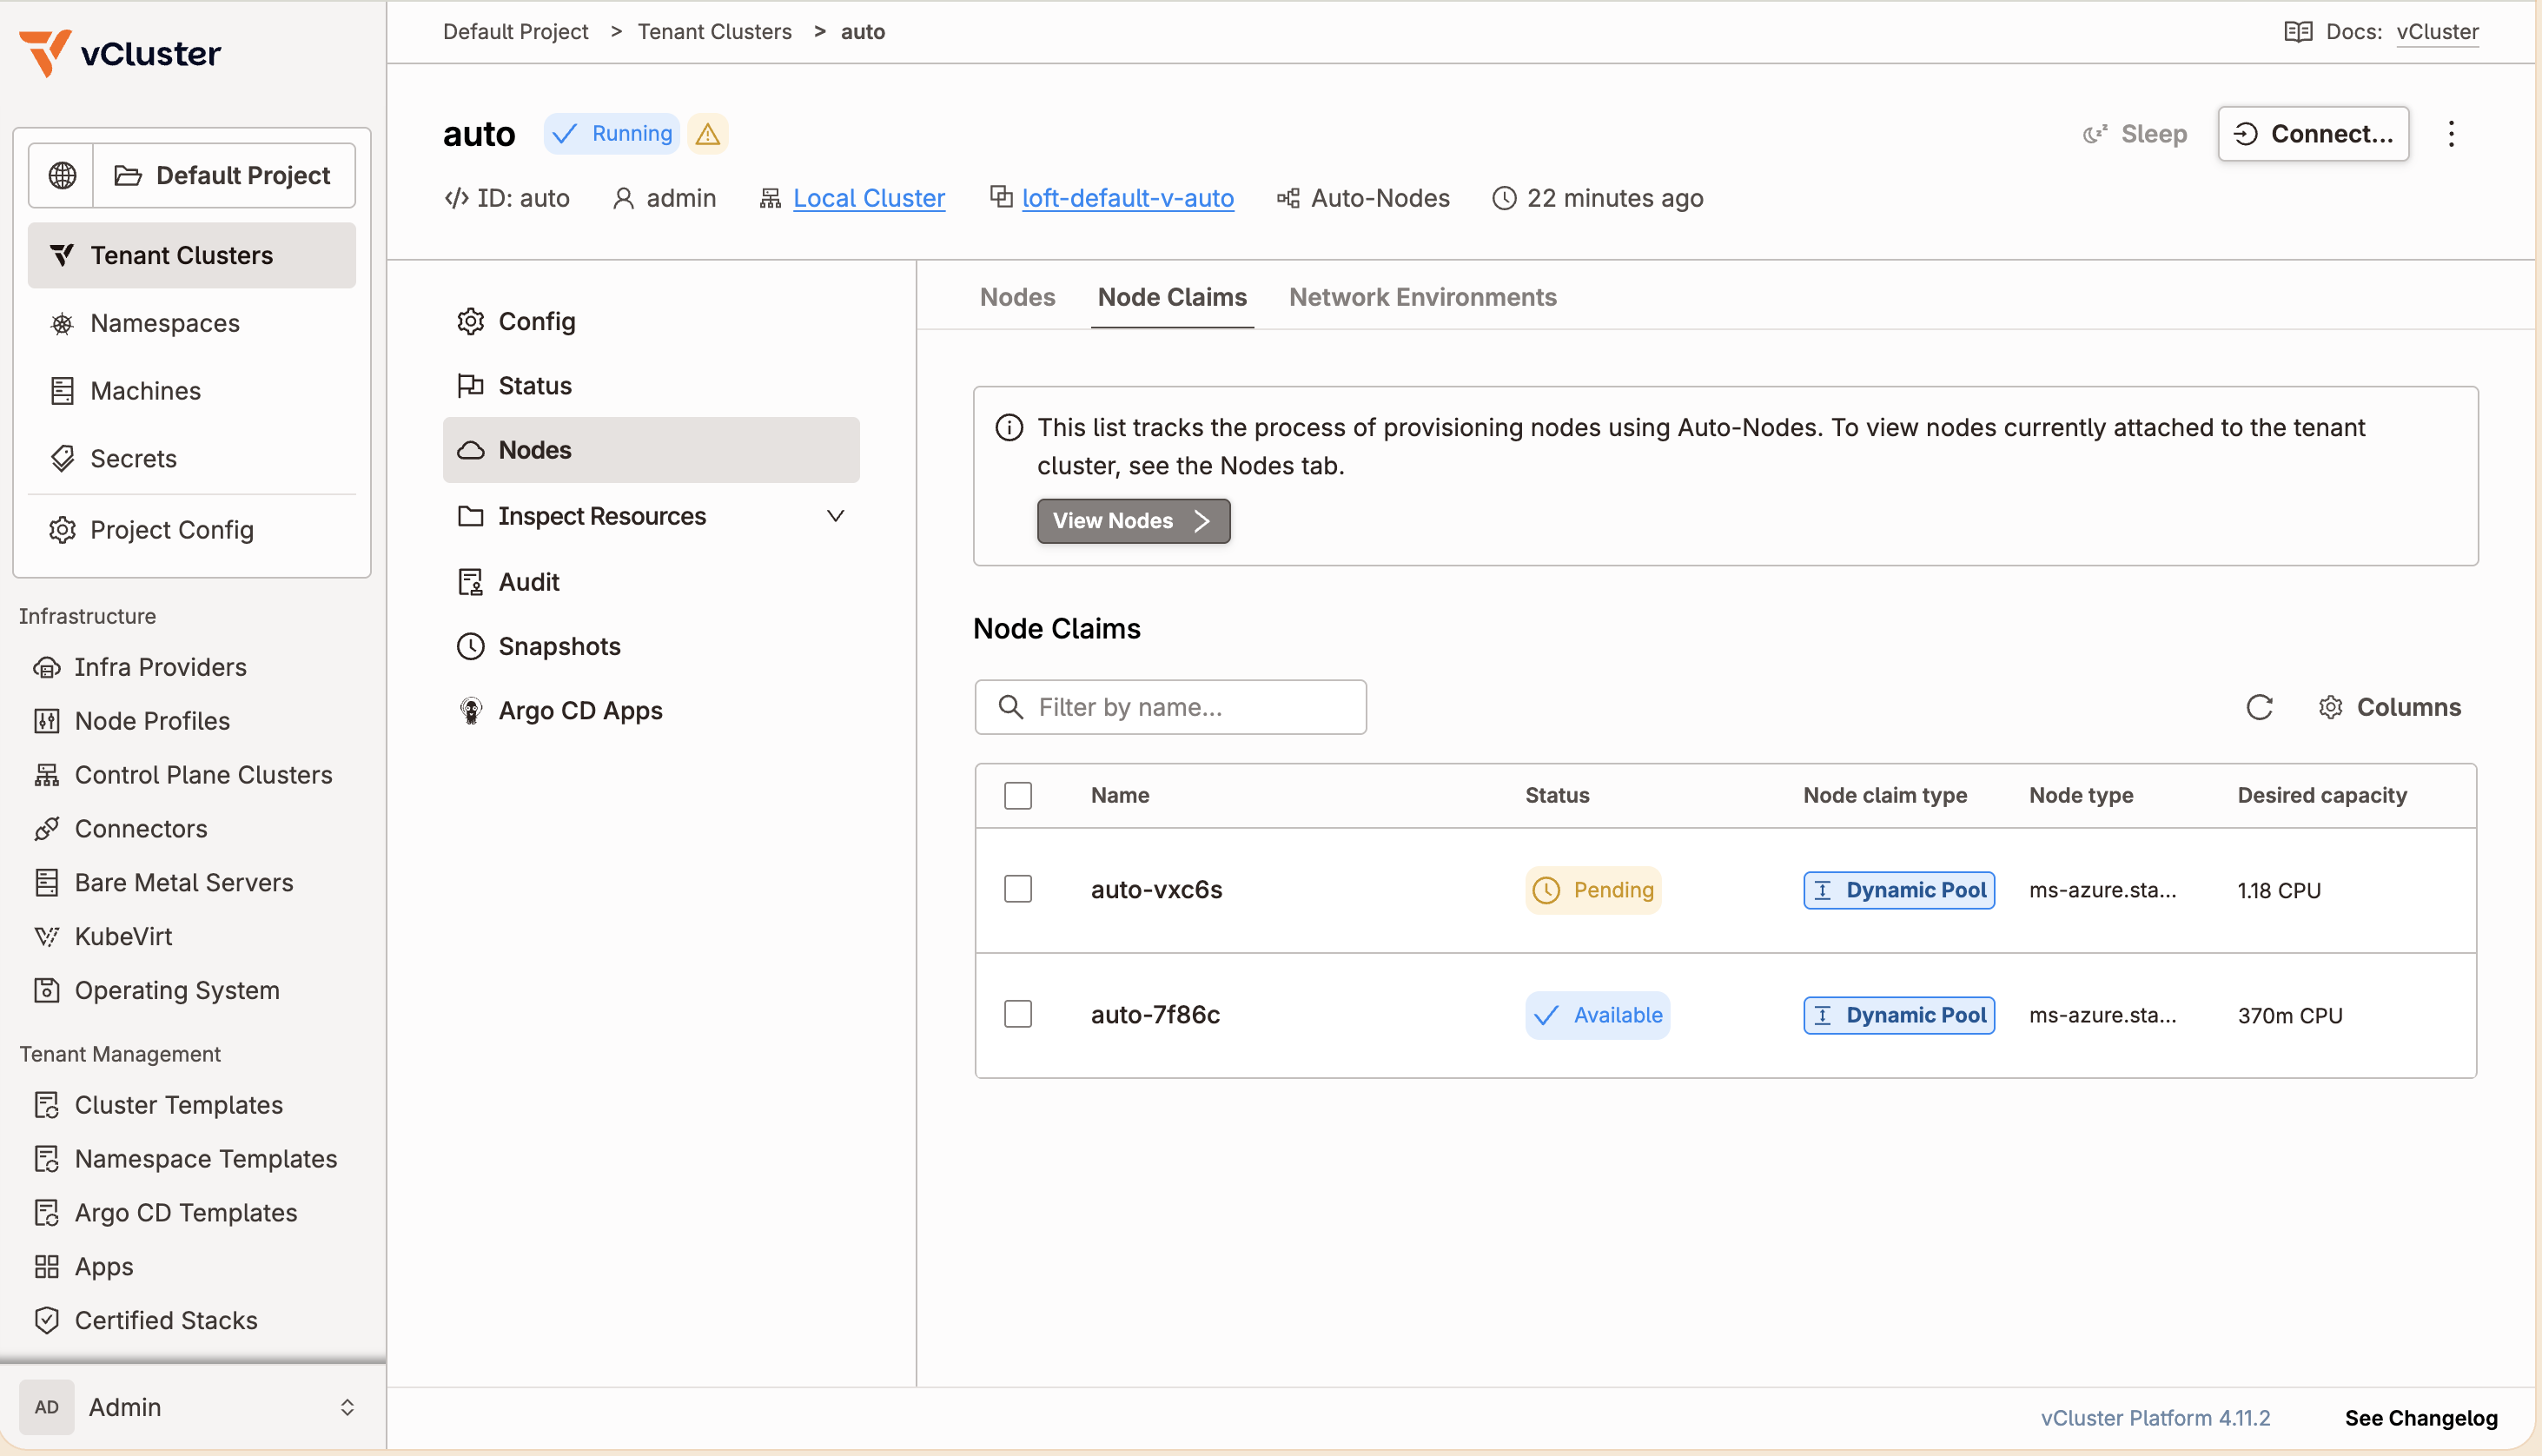
Five replicas at 500m CPU each is more than the existing node has free. Two pods stay Pending, and a second entry shows up under Nodes → Node Claims within seconds:
NAME         STATUS    NODE CLAIM TYPE   NODE TYPE                   DESIRED CAPACITY
auto-vxc6s   Pending   Dynamic Pool      ms-azure.standard-d2s-v3    1.18 CPU
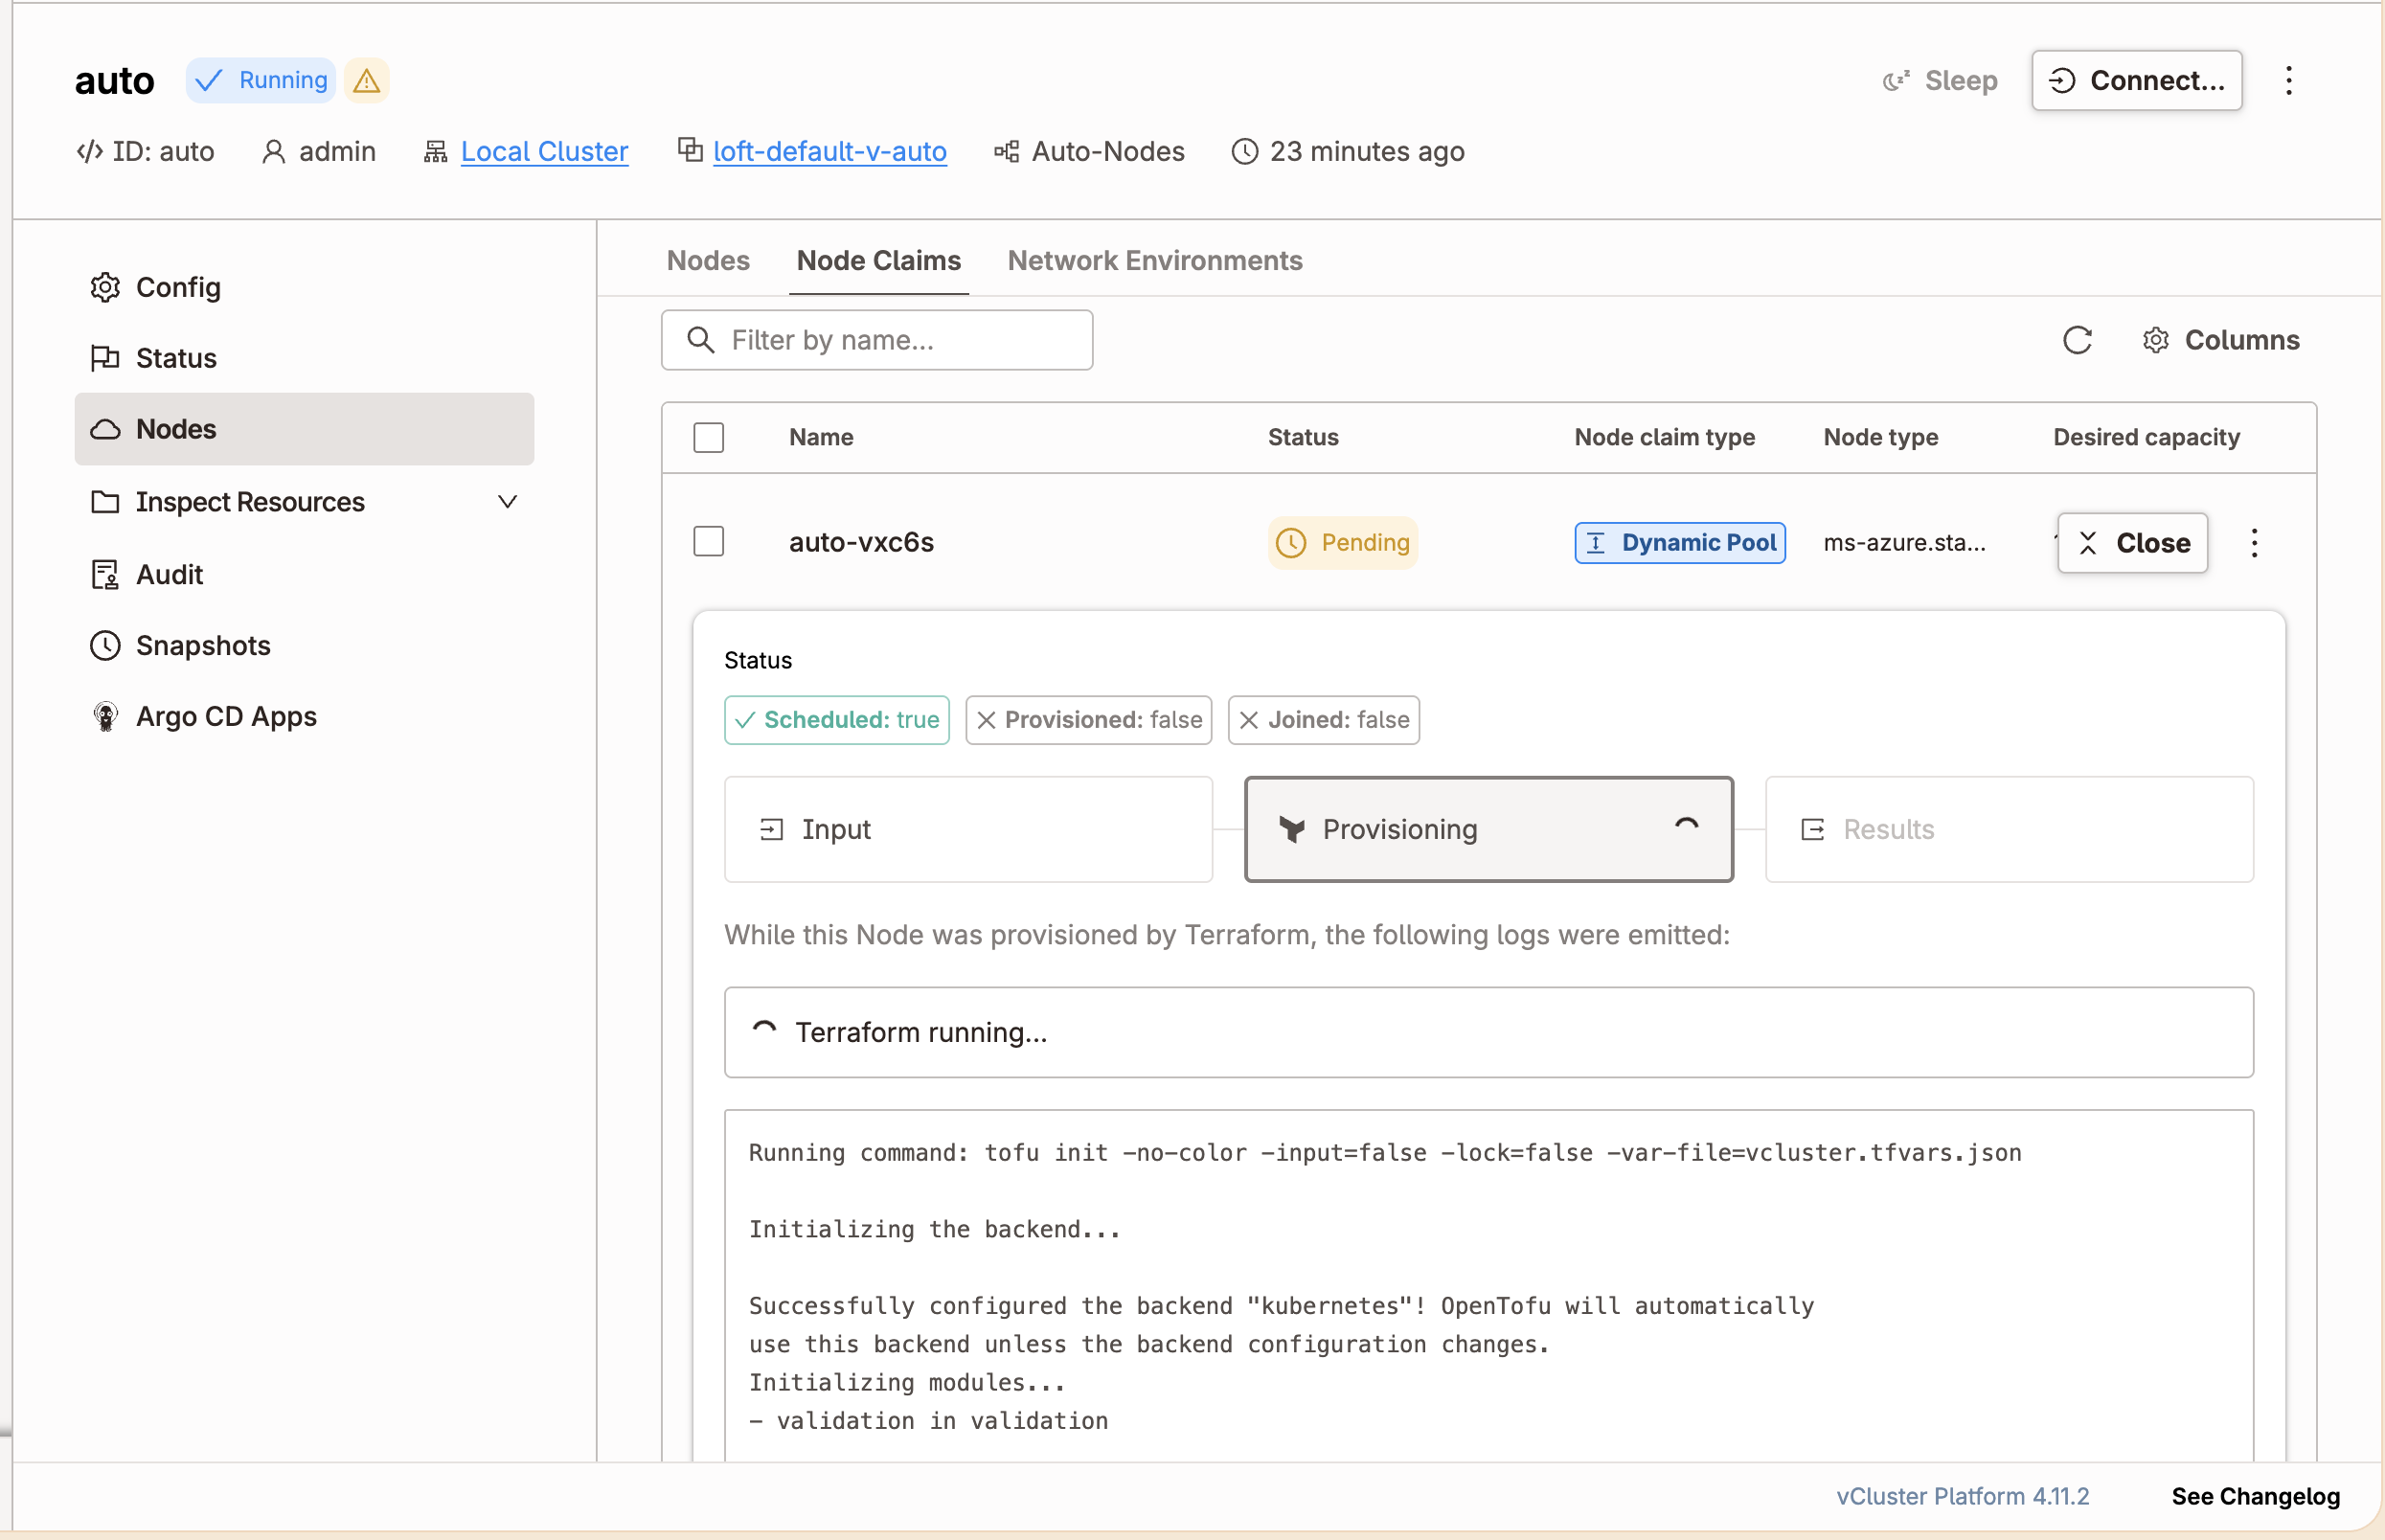
Opening the claim shows Terraform actively provisioning the new node:
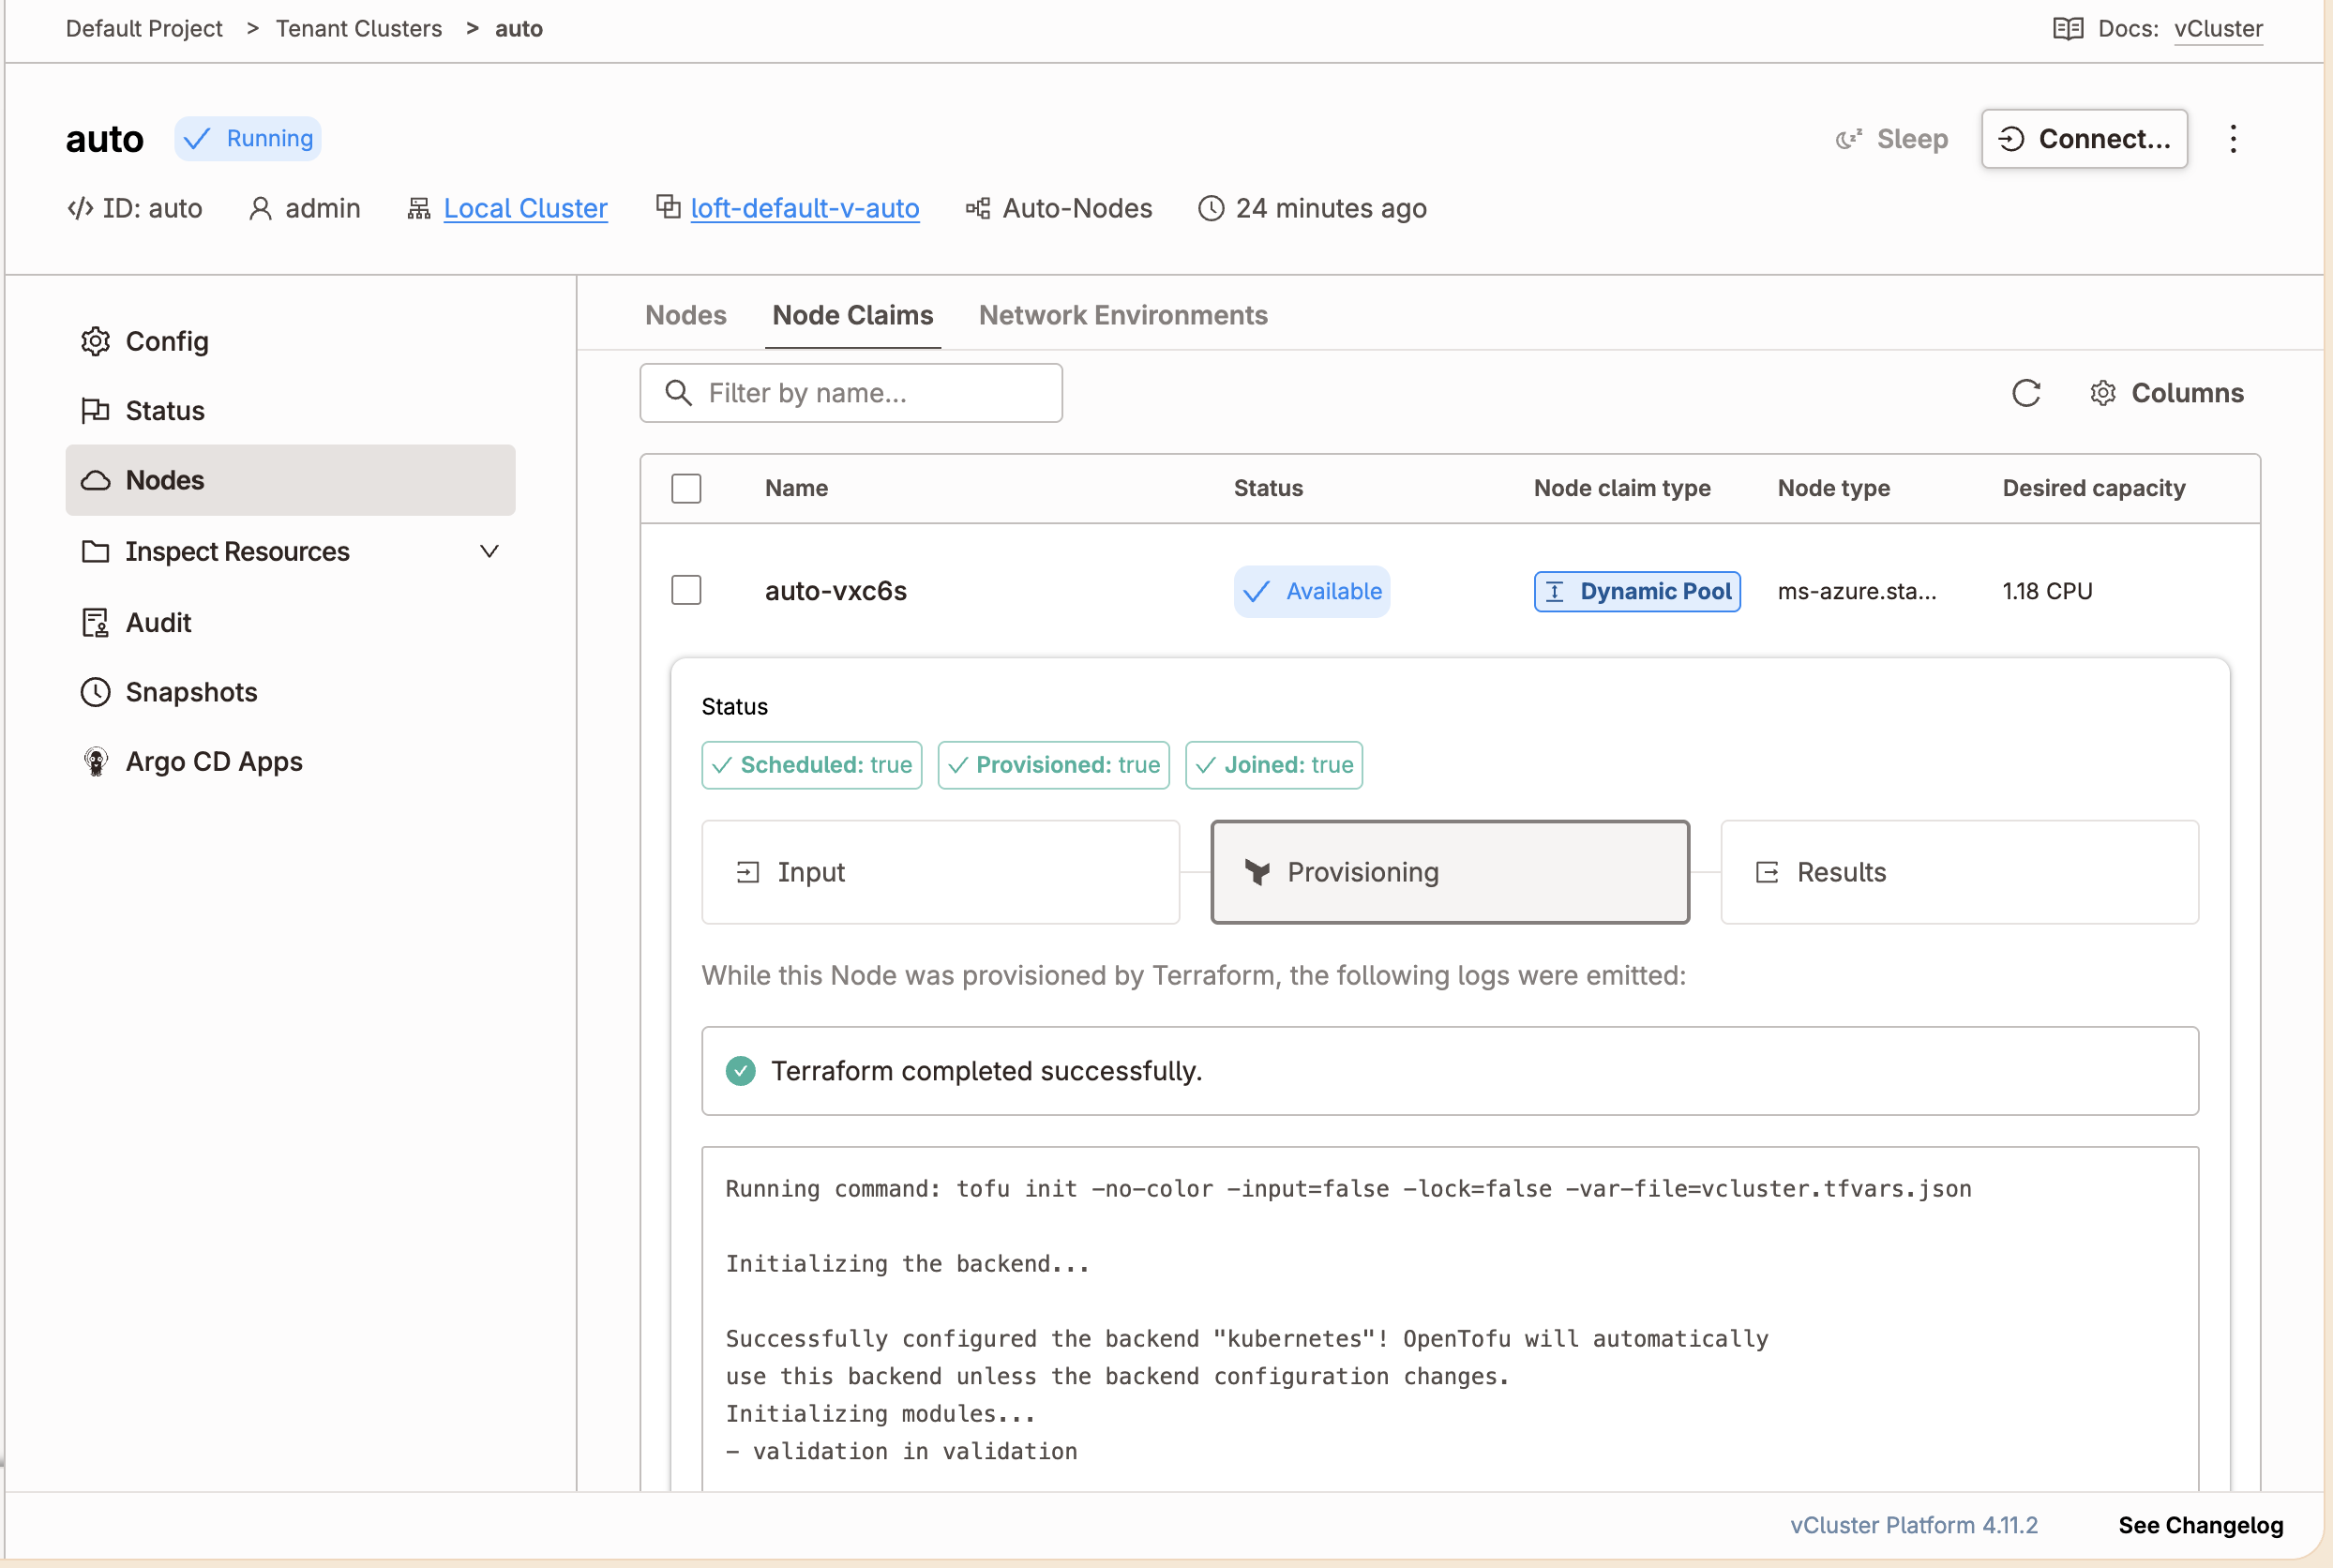
A minute or two later, Terraform finishes and a second Azure VM joins as a node:
NAME            STATUS   ROLES
auto-bb2555e3   Ready    <none>
auto-ae7797ce   Ready    <none>
And all five replicas end up Running:
test-workload-6fccf564d4-zk7ch   1/1   Running
test-workload-6fccf564d4-wwp2k   1/1   Running
test-workload-6fccf564d4-fh2nh   1/1   Running
test-workload-6fccf564d4-9266n   1/1   Running
test-workload-6fccf564d4-5tlv8   1/1   Running
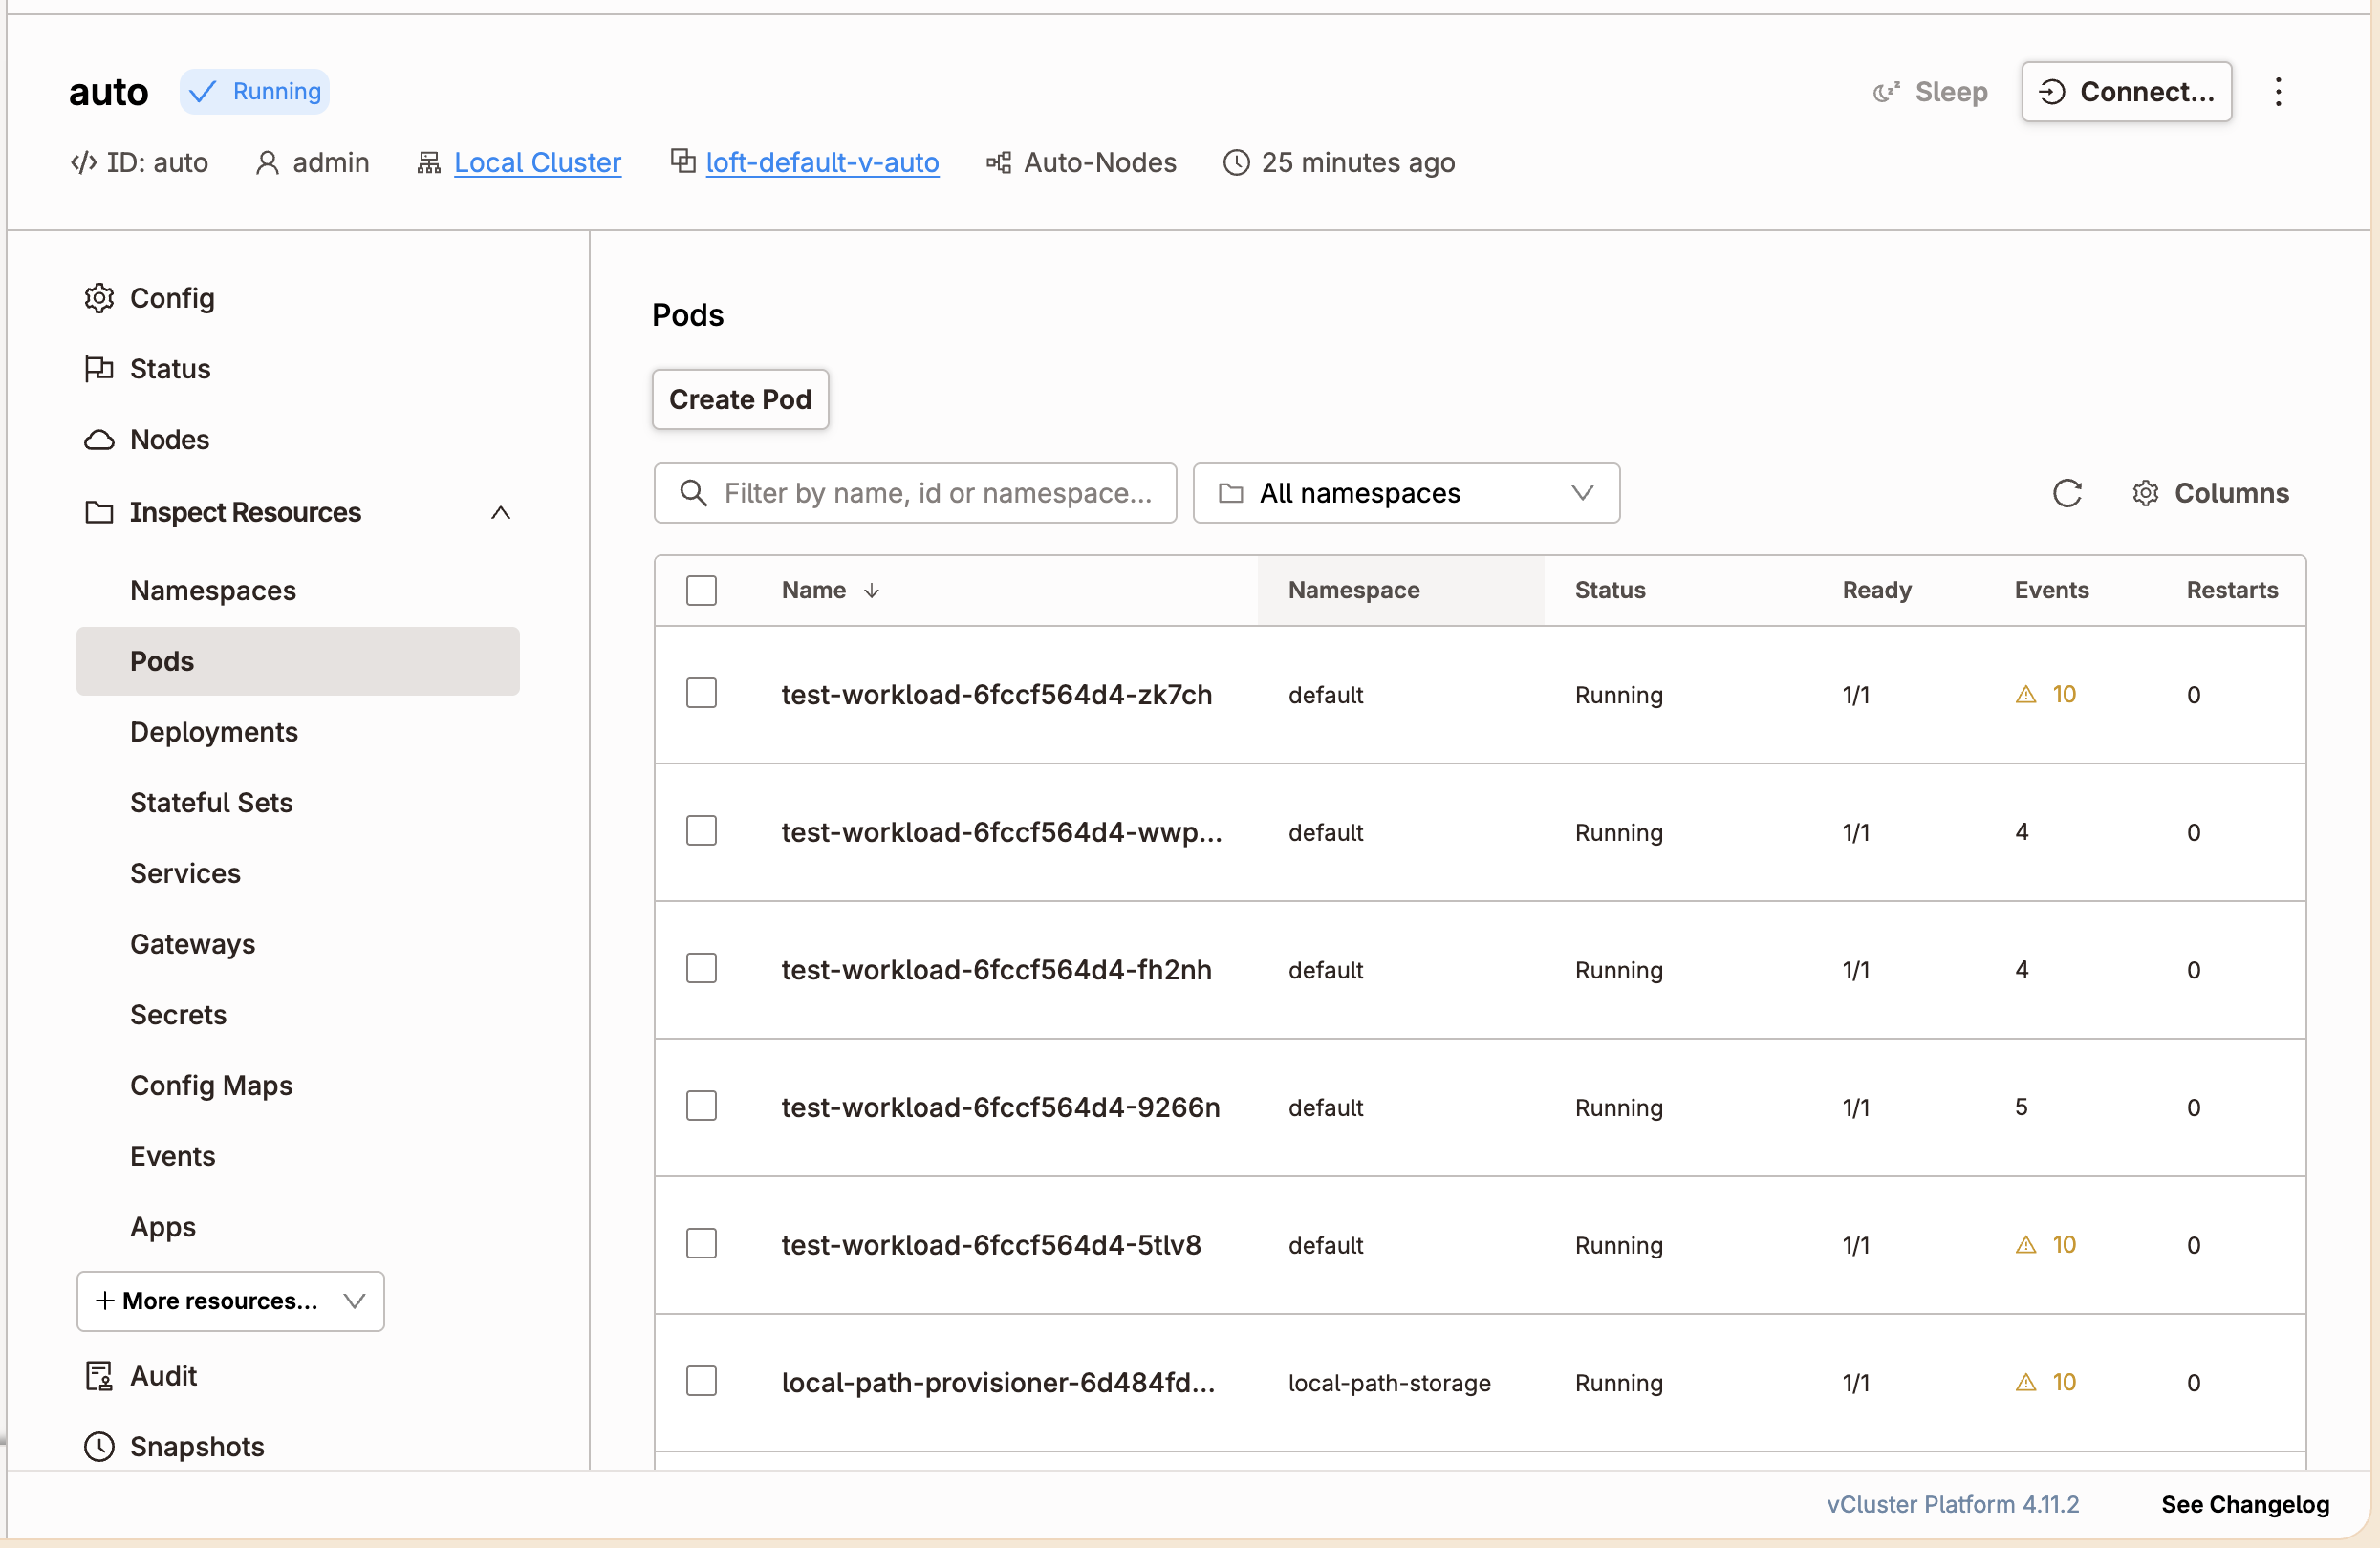
That's the full loop, end to end: a pod goes Pending → Auto Nodes opens a claim → Terraform provisions a real Azure VM → the VM joins as a node → the pod schedules.
Once the tenant cluster reaches Running, the Azure node shows up as Ready in both the Platform UI and kubectl get nodes. The node is a real Azure VM, dedicated to this tenant cluster, and visible in the Azure Portal alongside the other resources Auto Nodes created for it.
Deploy your first virtual cluster today.
