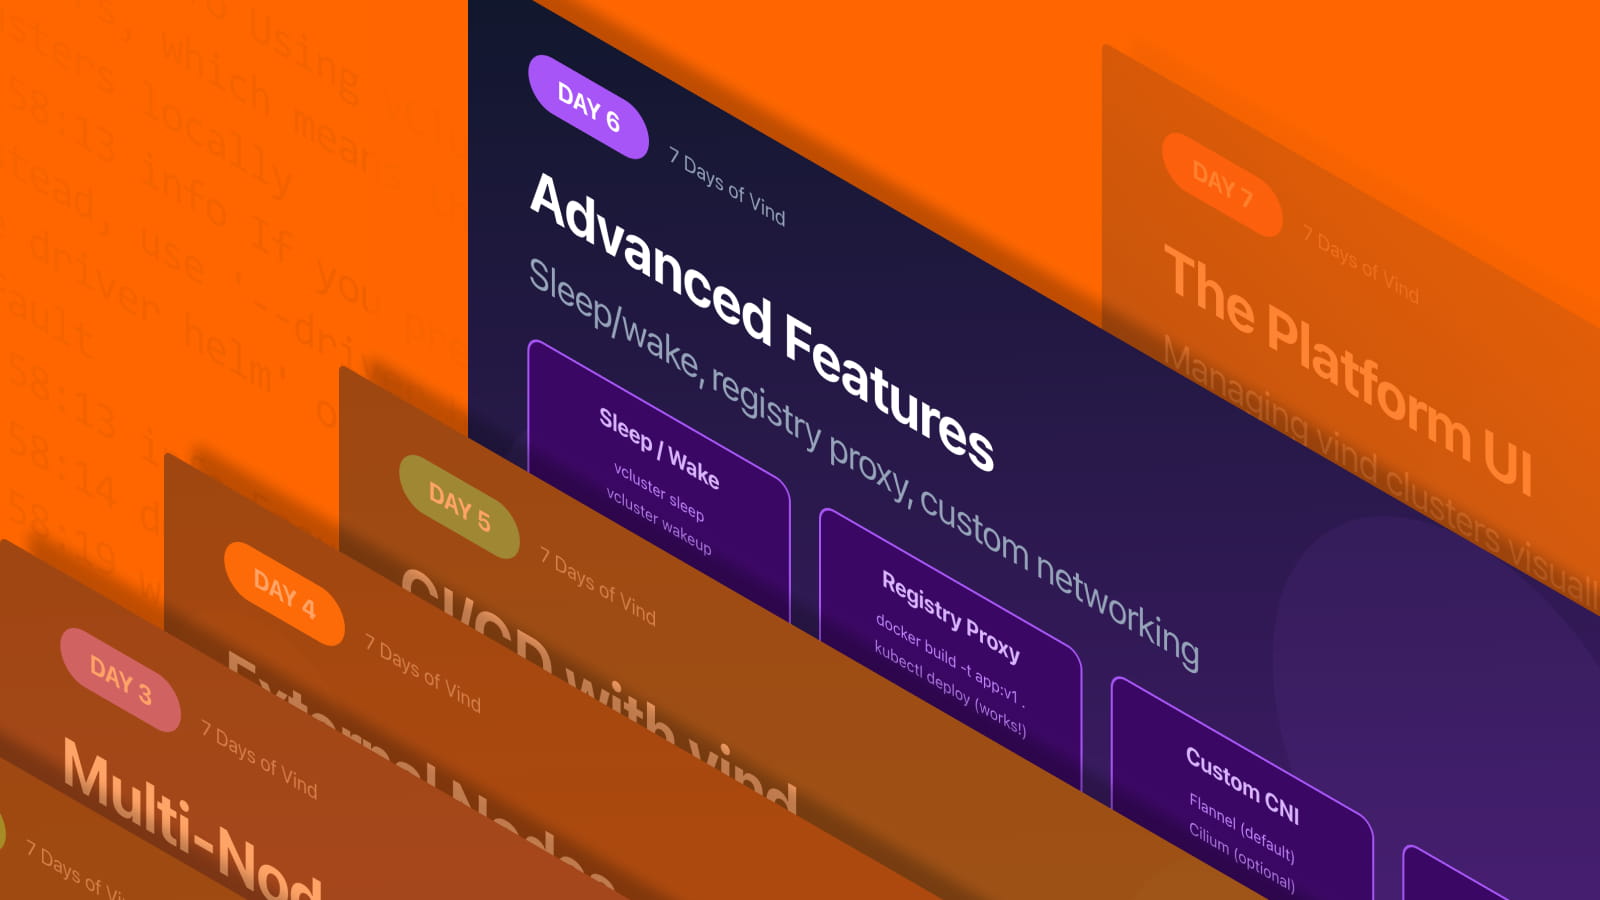
Day 6: Advanced Features: Sleep/Wake, Registry Proxy, and Custom Networking

Mar 13, 2026
|
5
min Read
We’ve spent 5 days building up from a basic cluster to CI/CD pipelines. Today, let’s go deeper into the features that make vind genuinely useful for daily development, the ones you’ll reach for every day.
No theory. All real commands and outputs.
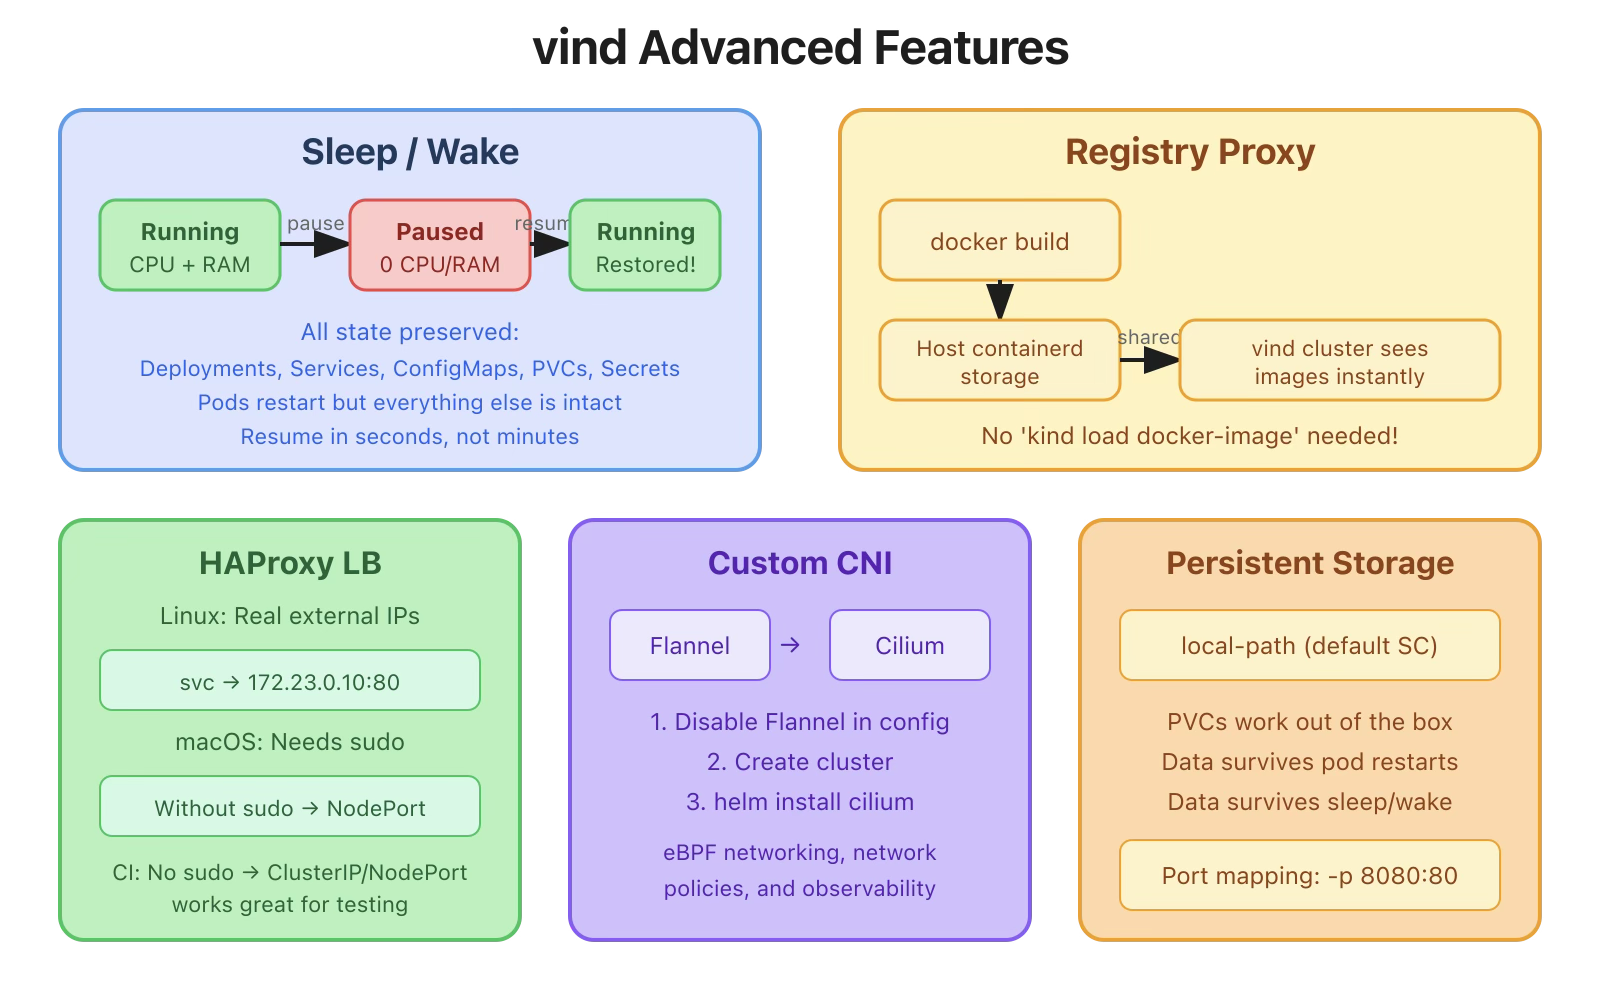
This is my favorite feature. With KinD, when you’re done for the day, you delete the cluster and recreate it tomorrow. With vind, you pause it and resume exactly where you left off.
# Create a cluster and deploy some stuff
Command:
vcluster create blog-demo
Output:
20:30:27 info Using vCluster driver 'docker' to create your virtual clusters, which means the CLI is managing Docker-based virtual clusters locally
20:30:27 info If you prefer to use helm or the vCluster platform API instead, use '--driver helm' or '--driver platform', or run 'vcluster use driver helm' or 'vcluster use driver platform' to change the default
20:30:27 info Ensuring environment for vCluster blog-demo...
20:30:33 info Will connect vCluster blog-demo to platform...
20:30:34 info Starting vCluster standalone blog-demo
20:30:35 done Successfully created virtual cluster blog-demo
20:30:35 info Finding docker container vcluster.cp.blog-demo...
20:30:35 info Waiting for vCluster kubeconfig to be available...
20:30:37 info Waiting for vCluster to become ready...
20:30:50 done vCluster is ready
20:30:50 done Switched active kube context to vcluster-docker_blog-demo
- Use `vcluster disconnect` to return to your previous kube context
- Use `kubectl get namespaces` to access the vcluster
Create Deployment:
$ kubectl create deployment nginx --image=nginx:latest --replicas=2
deployment.apps/nginx created
Expose service:
$ kubectl expose deployment nginx --type=LoadBalancer --port=80 --target-port=80
service/nginx exposed
Wait for pods to be running:
$ kubectl get pods
NAME                    READY   STATUS    RESTARTS   AGE
nginx-b6485fcbb-47qnn   1/1     Running   0          43s
nginx-b6485fcbb-lvtxv   1/1     Running   0          43s
Now, lunch break. put the cluster to sleep:
vcluster sleep blog-demo
20:33:35 info Pausing vCluster blog-demo...
20:33:36 done Successfully paused vCluster blog-demo
List vCluster:
$ vcluster list   NAME    | STATUS | CONNECTED |  AGE
-----------+--------+-----------+--------
  blog-demo | exited |           | 3m19s
The cluster is in sleep mode. Docker containers are stopped. CPU and memory are freed.
After lunch, wakeup:
$ vcluster wakeup blog-demo
20:34:56 info Resuming vCluster blog-demo...
20:34:56 done Successfully resumed vCluster blog-demo
$ vcluster connect blog-demo
info  Waiting for vCluster to become ready…
done  vCluster is ready
done  Switched active kube context to vcluster-docker_blog-demo
And your pods are back:
$ kubectl get pods
NAME                    READY   STATUS    RESTARTS      AGE
nginx-b6485fcbb-47qnn   1/1     Running   1 (62s ago)   2m37s
nginx-b6485fcbb-lvtxv   1/1     Running   1 (62s ago)   2m37s
Check the service:
$ kubectl get svc
NAME         TYPE           CLUSTER-IP       EXTERNAL-IP   PORT(S)        AGE
kubernetes   ClusterIP      10.96.0.1        <none>        443/TCP        4m24s
nginx        LoadBalancer   10.110.104.198   172.23.255.254    80:31545/TCP   2m37s
Everything is exactly as you left it, deployments, services, ConfigMaps, secrets, PVCs. The pods restarted (that’s expected since the container was stopped).
If you’ve used KinD, you know the pain:
#KinD workflow
docker build -t my-app:latest .
kind load docker-image my-app:latest --name my-cluster  # SLOW
kubectl create deployment my-app --image=my-app:latest
With vind, the registry proxy eliminates this step entirely. It’s enabled by default, it shares the host Docker daemon’s containerd storage with the vCluster containers, so locally available images don’t need to be pulled again.
# Build your image locally
$ docker build -t my-app:v2 .
# Deploy: the image is already available!
kubectl create deployment my-app --image=my-app:v2
And if you check the pod events, the pull takes milliseconds, it’s coming from local storage, not the network:
Normal  Pulling  21s  kubelet  Pulling image "my-app:v2"
Normal  Pulled   21s  kubelet  Successfully pulled image "my-app:v2" in 45ms (46ms including waiting). Image size: 4092676 bytes.
No kind load docker-image. No pushing to a registry. 45ms to pull a locally built image.
Tip: Use a specific tag (not :latest), Kubernetes defaults to imagePullPolicy: Always for :latest, which bypasses local images.
The registry proxy requires Docker with containerd as the image storage backend, which is the default on recent versions of Docker Desktop.
We’ve seen this in earlier days, but let’s understand it properly.
On macOS
macOS Docker Desktop can’t route to Docker network IPs directly. You need to run vcluster with sudo to get LoadBalancer support:
$ sudo vcluster create my-cluster
This allows vind to set up the HAProxy load balancer with port forwarding from your host.
Without sudo, LoadBalancer shows <pending> but NodePort still works:
$ kubectl get svc
NAME         TYPE           CLUSTER-IP       EXTERNAL-IP        PORT(S)        AGE
nginx        LoadBalancer   10.104.191.101   172.23.255.254     80:31545/TCP   43s
vind ships with Flannel by default, but you can install any CNI. Here’s how to use Cilium:
Create a values file:
# cilium-cluster.yaml
deploy:
  cni:
    flannel:
      enabled: false
$ vcluster create cilium-test -f cilium-cluster.yaml
$ helm repo add cilium https://helm.cilium.io/
$ helm install cilium cilium/cilium \
  --namespace kube-system
Once Cilium pods are running, you have eBPF-powered networking, network policies, and observability, all in a local Docker cluster.
vind includes local-path-storage by default:
$ kubectl get sc
NAME                   PROVISIONER             RECLAIMPOLICY
local-path (default)   rancher.io/local-path   Delete
Create a PVC and it works immediately:
apiVersion: v1
kind: PersistentVolumeClaim
metadata:
  name: my-data
spec:
  accessModes:
    - ReadWriteOnce
  resources:
    requests:
      storage: 1Gi
$ kubectl apply -f pvc.yaml
$ kubectl get pvc
NAME      STATUS   VOLUME                CAPACITY   ACCESS MODES
my-data   Bound    pvc-xxxx-xxxx-xxxx    1Gi        RWO
Data persists through pod restarts and even through sleep/wake cycles.
Need to expose specific ports from your cluster:
$ vcluster create my-cluster \
  --set experimental.docker.ports[0]="8080:80" \
  --set experimental.docker.ports[1]="8443:443"
This maps host port 8080 to container port 80, and 8443 to 443. Useful for web apps, ingress controllers, or any service you want to access from the host.
Some useful commands for debugging:
# View control plane logs
$ docker exec vcluster.cp.my-cluster journalctl -u vcluster --no-pager | tail -20
# Check what's running inside the control plane container
$ docker exec vcluster.cp.my-cluster crictl ps
# View Docker network details
$ docker network inspect vcluster.my-cluster
# Check resource usage per container
$ docker stats --no-stream --format "table {{.Name}}\t{{.CPUPerc}}\t{{.MemUsage}}" | grep vcluster
The real power comes from combining these features:
All of this in a local development environment. That’s what sets vind apart.
Tomorrow we wrap up the series with the vCluster Platform UI: the web dashboard that lets you visually manage all your vind clusters, deploy apps from a built-in catalog, use templates for standardized configs, and manage team access. It’s the feature that takes vind from “a better KinD” to a real cluster management platform.
All commands tested on macOS (Apple Silicon M1) with Docker Desktop and vCluster CLI v0.31.0.
vind is open source: https://github.com/loft-sh/vind, so do star the repo if you like vind.
Deploy your first virtual cluster today.
